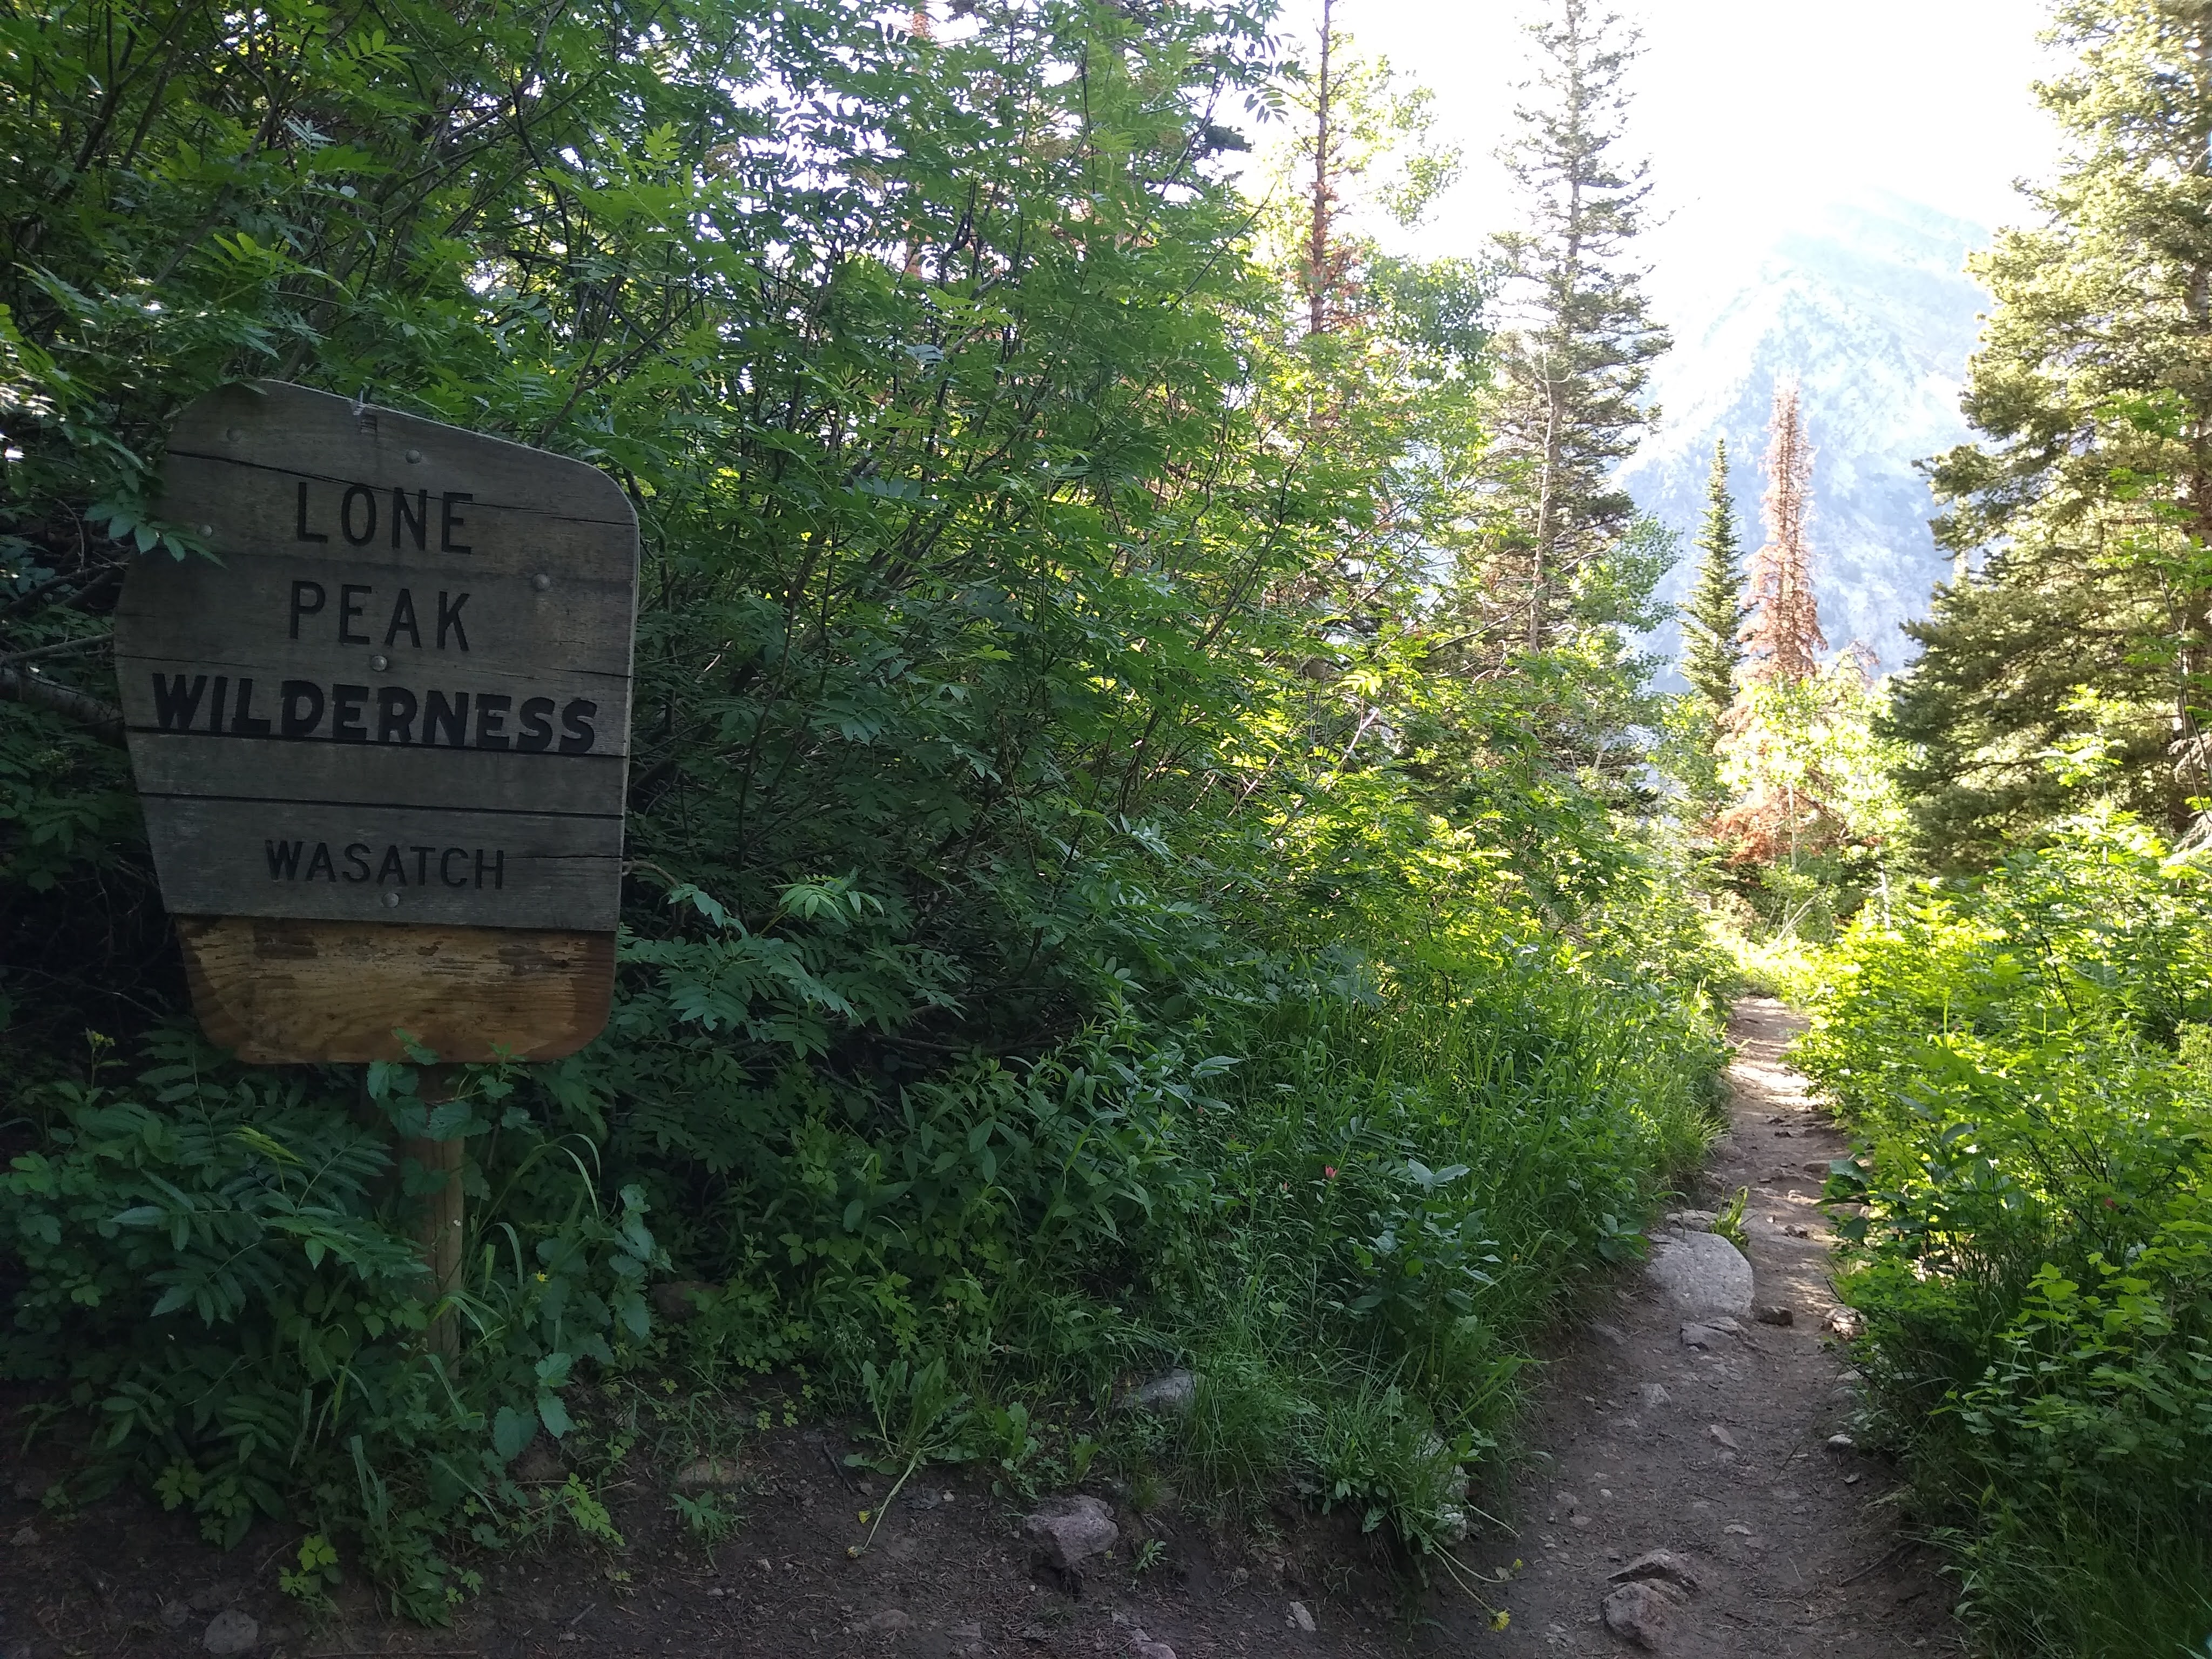
This past weekend I took a long trip into the Lone Peak Wilderness SE of Salt Lake City, Utah. I’m happy to report 2 new qualifications and 4 total activations over a 2-day backpacking trip. I’ll detail the route, contacts, and mountaineering tips along the way.
The Summits
This backpacking trip took place in the Lone Peak Wilderness in the Wasatch Range of the Utah Mountains. The mountains are thick granite and generally have at least one approachable side. The total summits conquered were, in order:
Lone Peak was conquered on Day 1, and the other peaks were conquered on day 2.
The Excursion
This trip was accomplished over two days in the Lone Peak Wilderness. Multiple summitpost reports (and some in reverse) strung together laid out my route details but it is doable with much class three and a fair amount of class four. Here are the trip reports:
- Lone Peak Via Jacobs Ladder
- Lone Peak to Bell’s Canyon
- South Thunder Canyon
- Pfiefferhorn to South Thunder Done in reverse
- Pfiefferhorn
- Pfieff to White Baldy
Twin Sisters was originally on this trip, but I got too exhausted after Mount Baldy and called it on red pine trailhead.
Getting There
I started on the Jacob’s Ladder trail in Draper, UT. However, the road that leads to this trail is closed to motor vehicles, so I actually parked (was dropped off) at Peakview Trailhead and walked to the start of Jacob’s Ladder. It added about 1.5 miles to my trek, but it was all class 1-2 trail.
For being an ascent to Lone Peak, I saw tons of hikers and mountain bikers out on the trail. They largely disappated after the start of Jacob’s Ladder, but it was comforting to commisserate the misery with other hikers.
 Lone’s Peak from Peakview TH
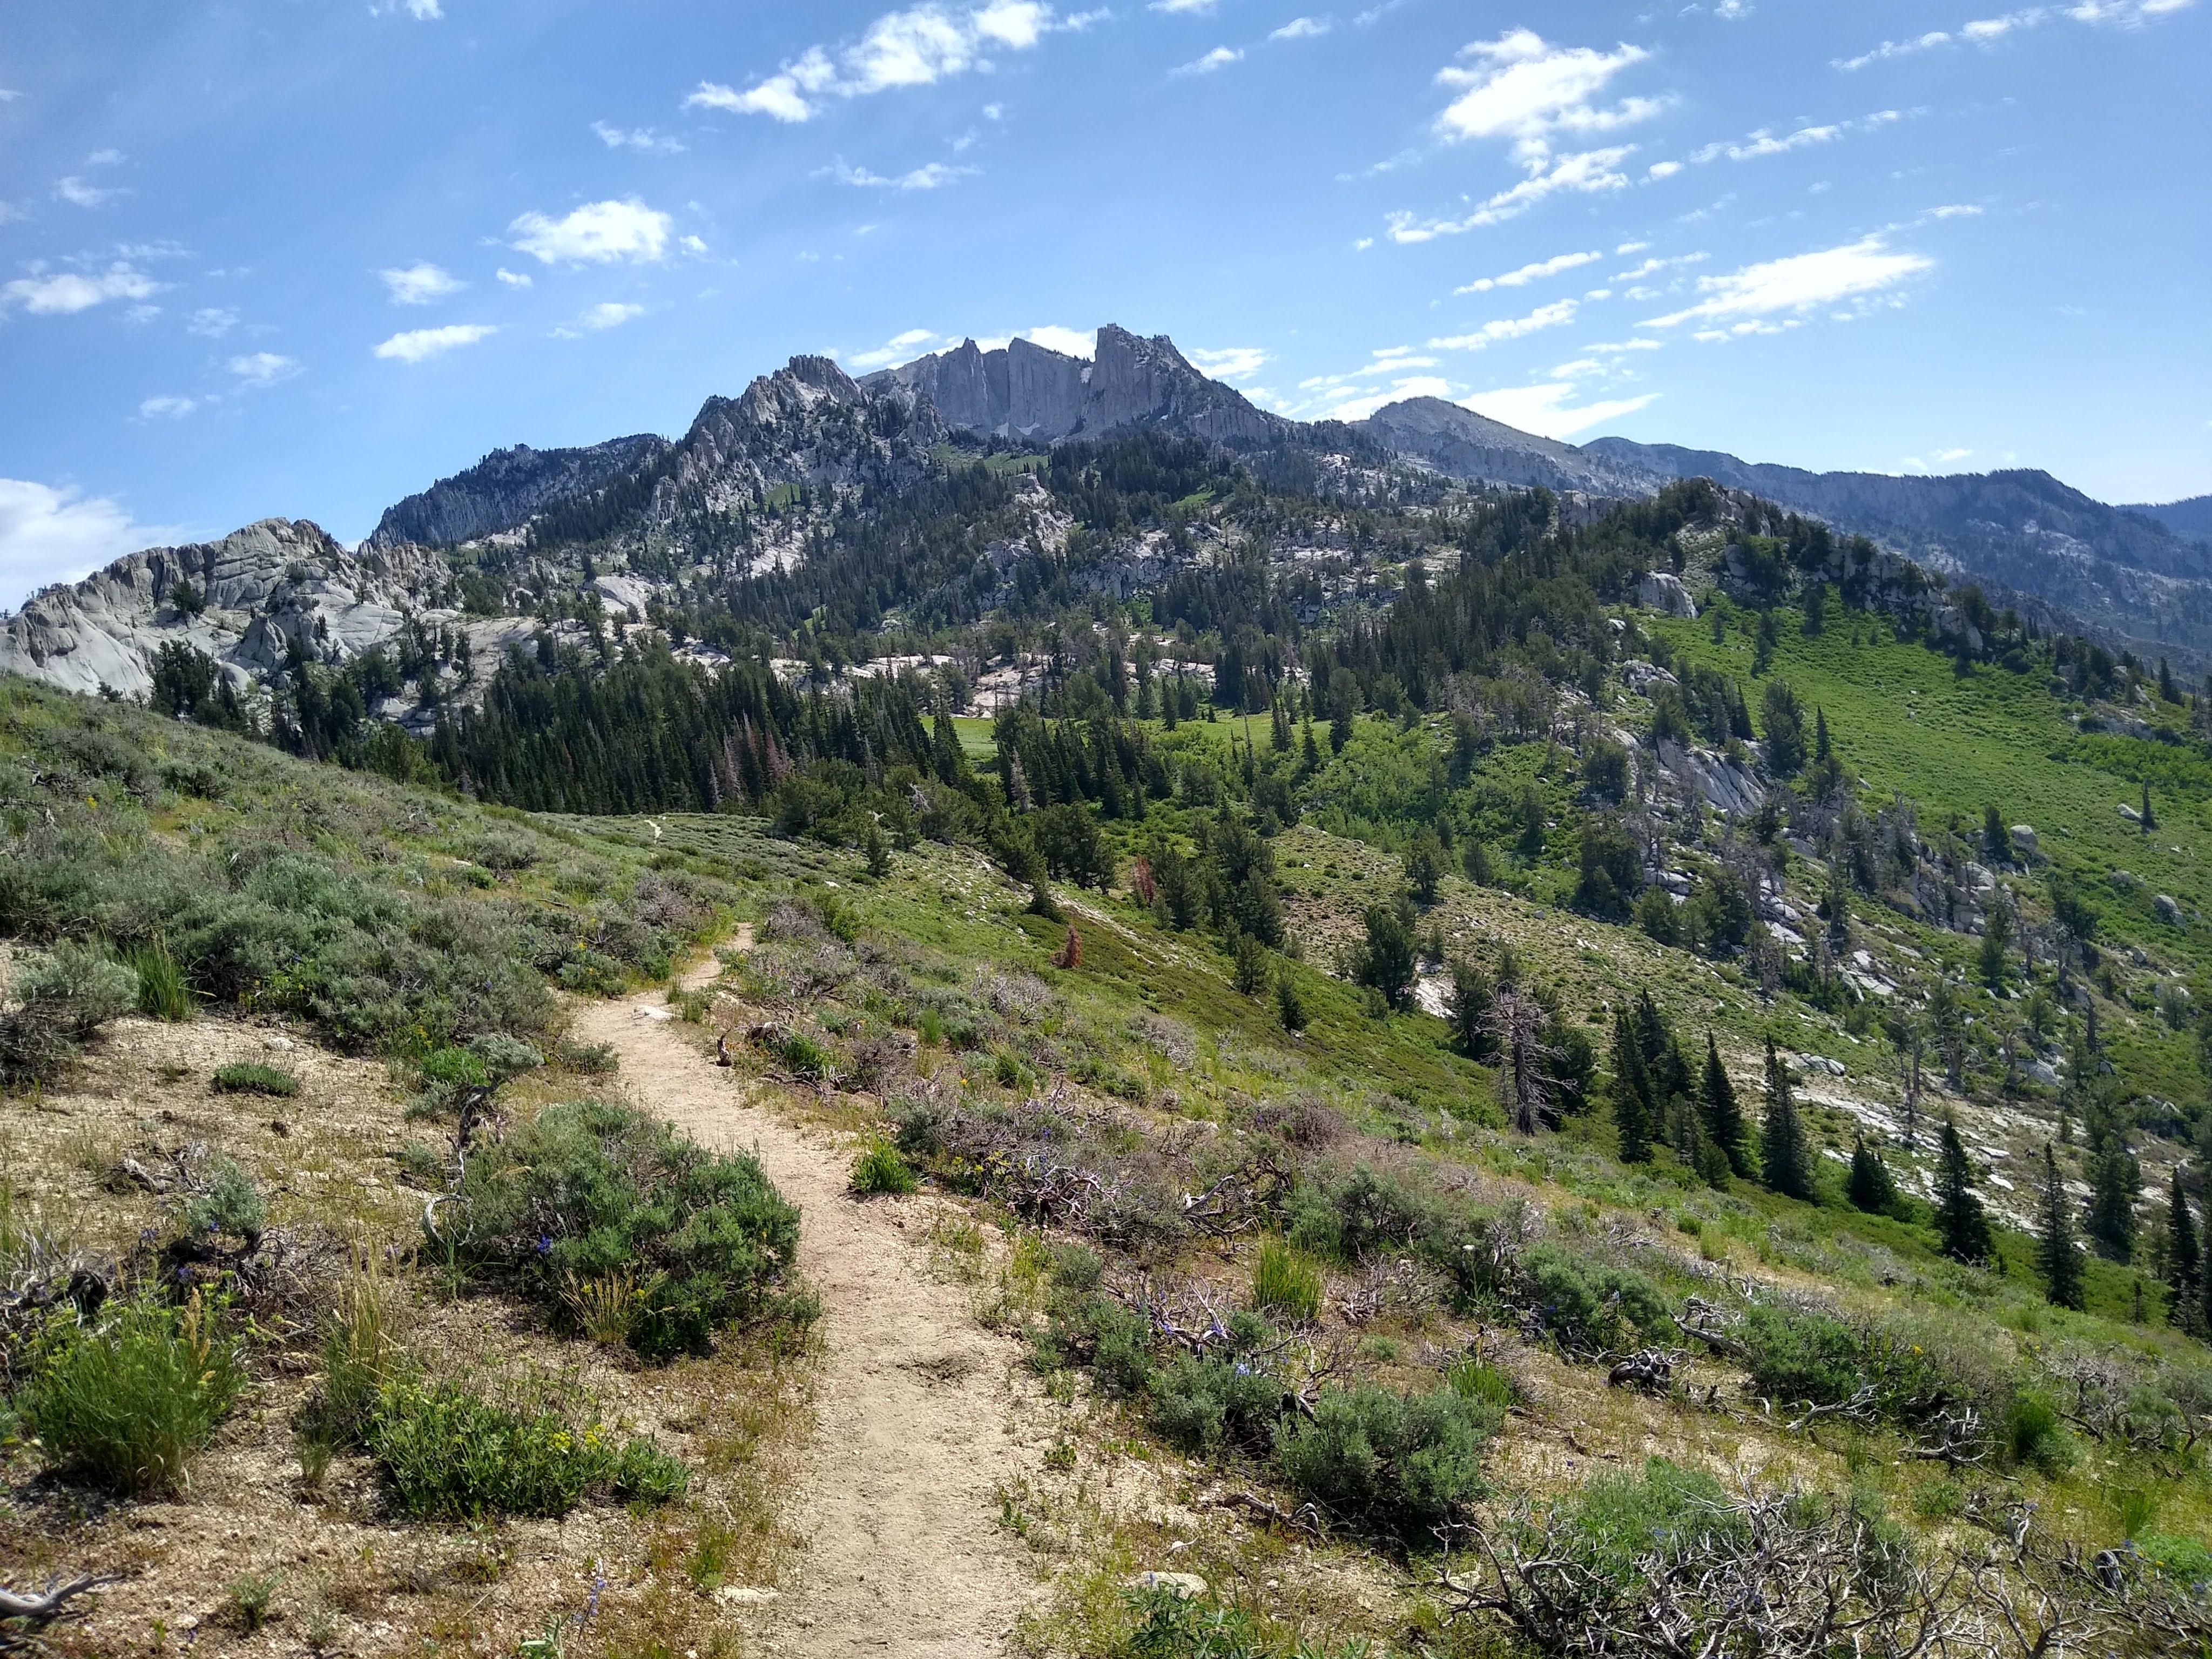
Approach to Lone’s Peak
You can see Lone’s the whole way up, and get some incredible views especially in Cowboy Canyon. Follow the cairns and the trail should never break class 3.
 Summit
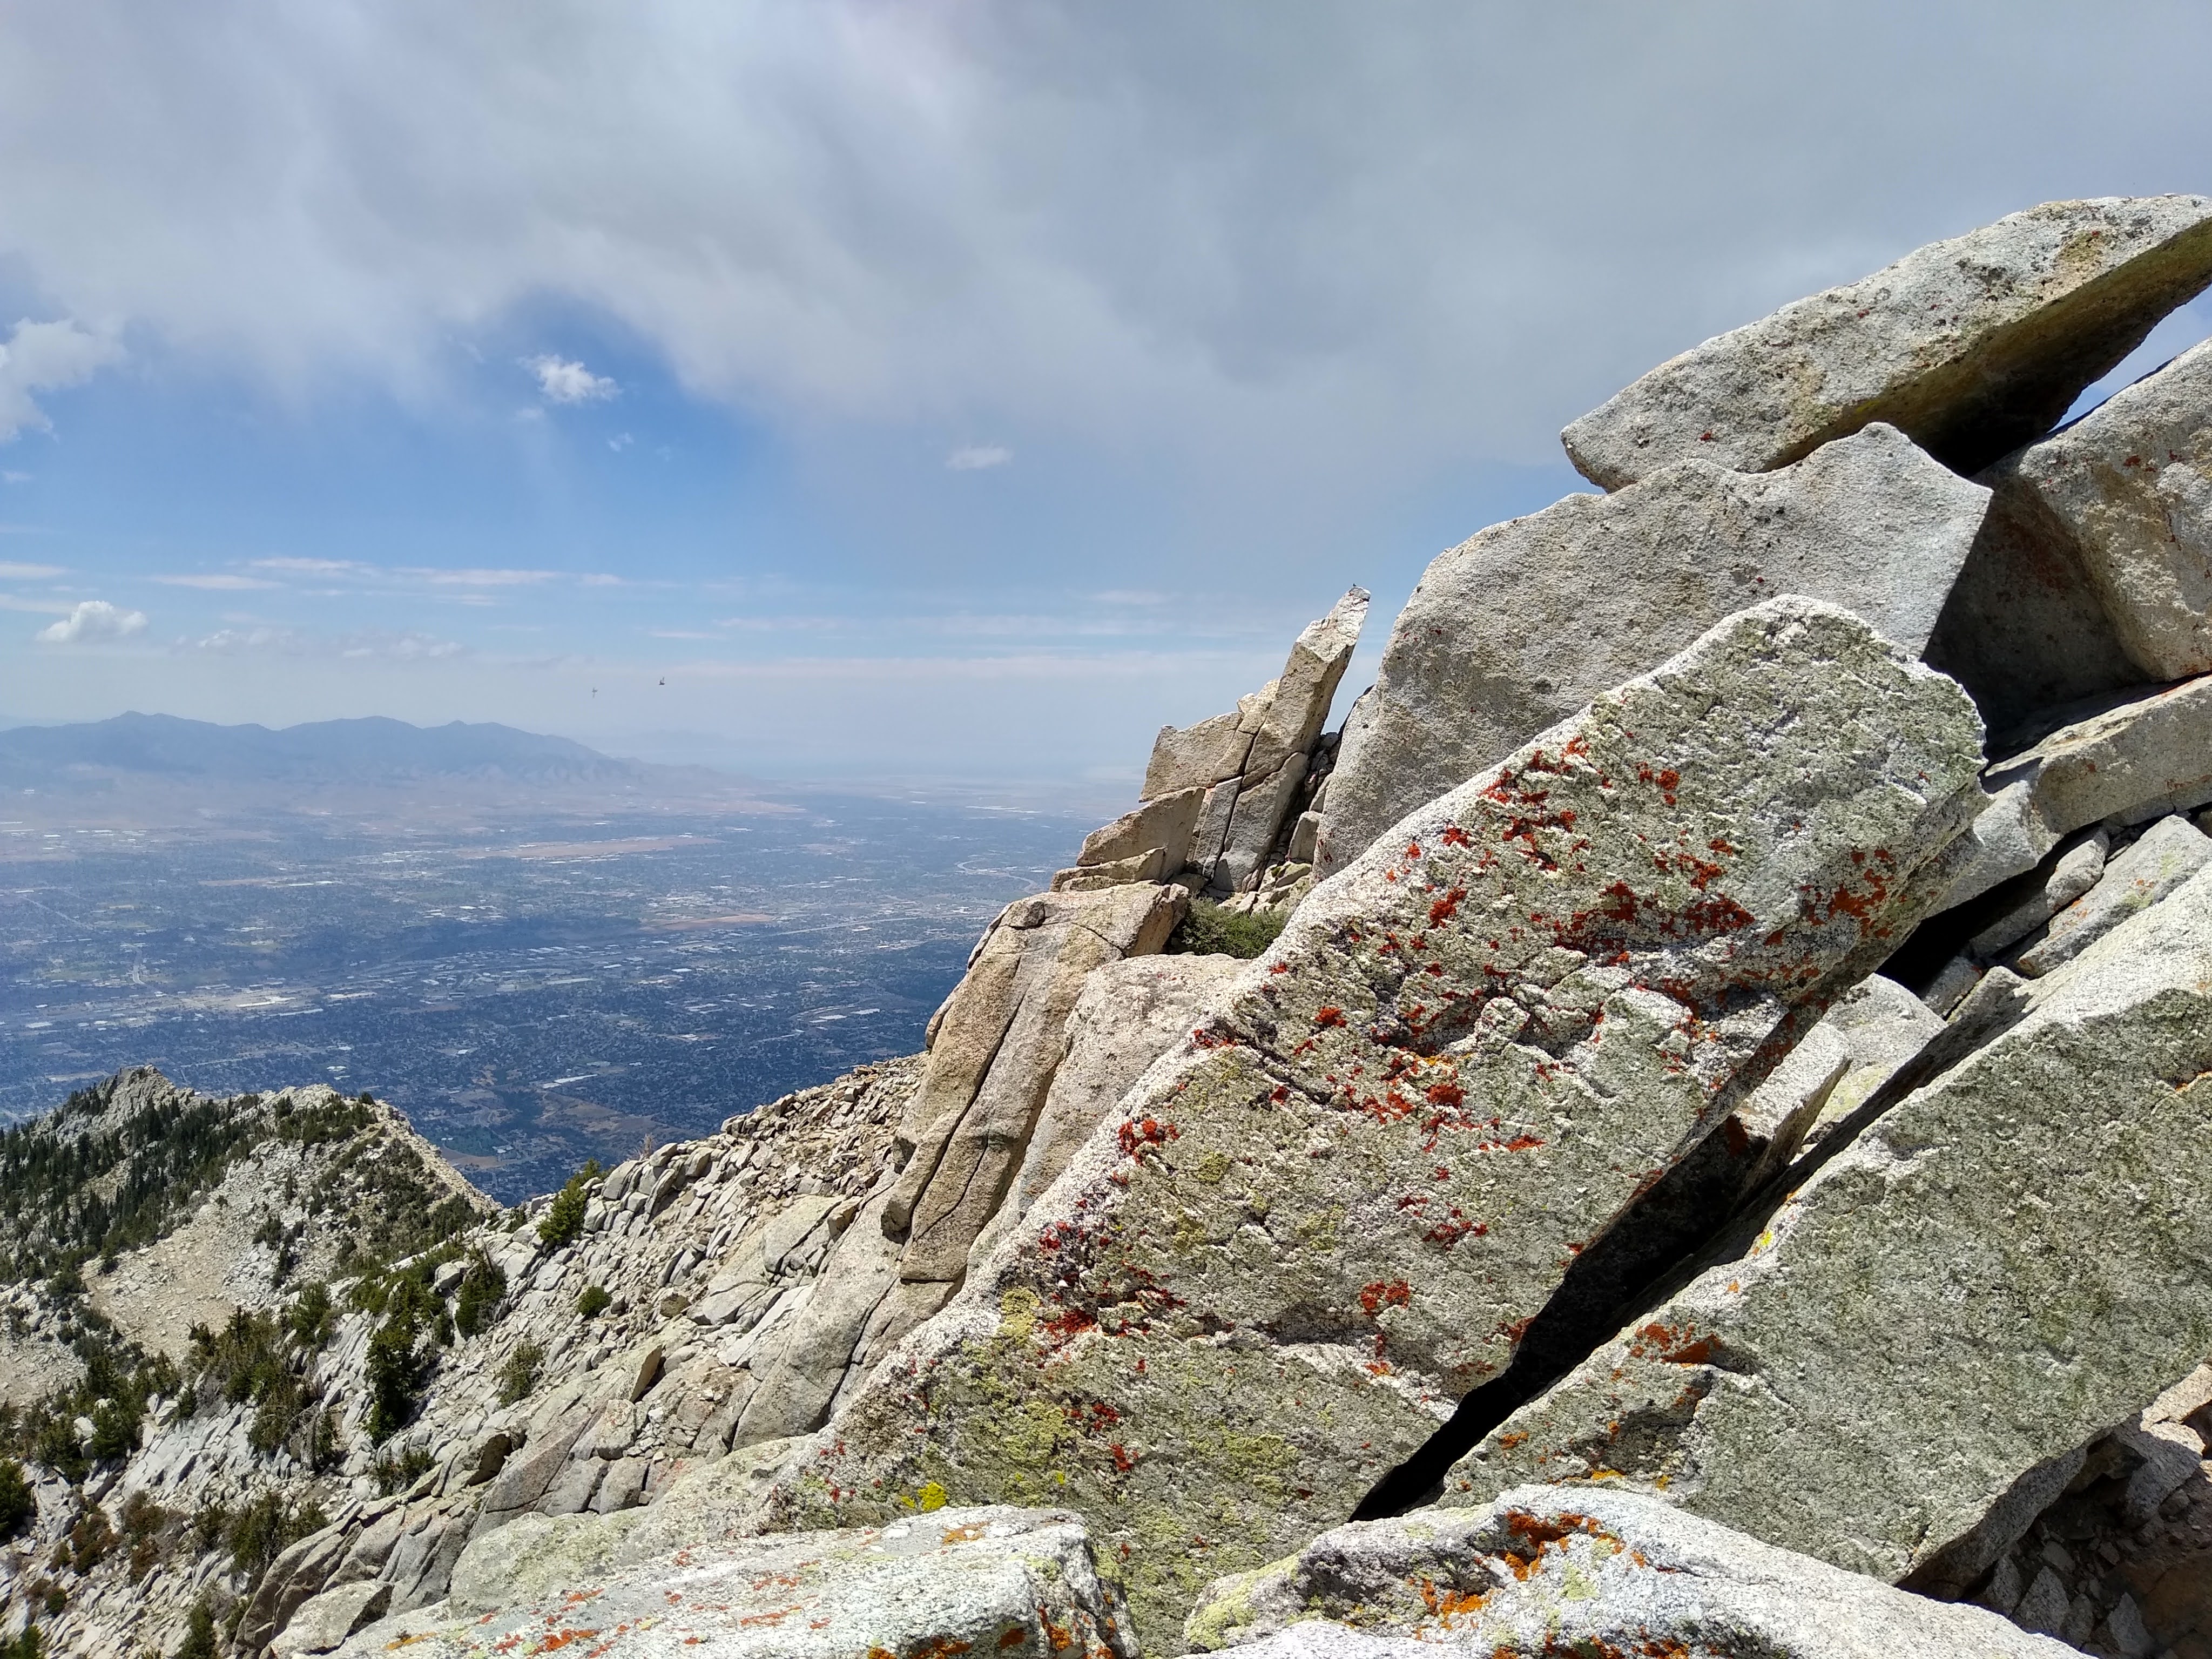
The peak is relatively flat but you have to be cautious of the rock spurs. Always take the highest route along the ridge if you can, but default to the side to get around those sharp spurs. I did see some trad climbers who probably use the South Face for some fun.
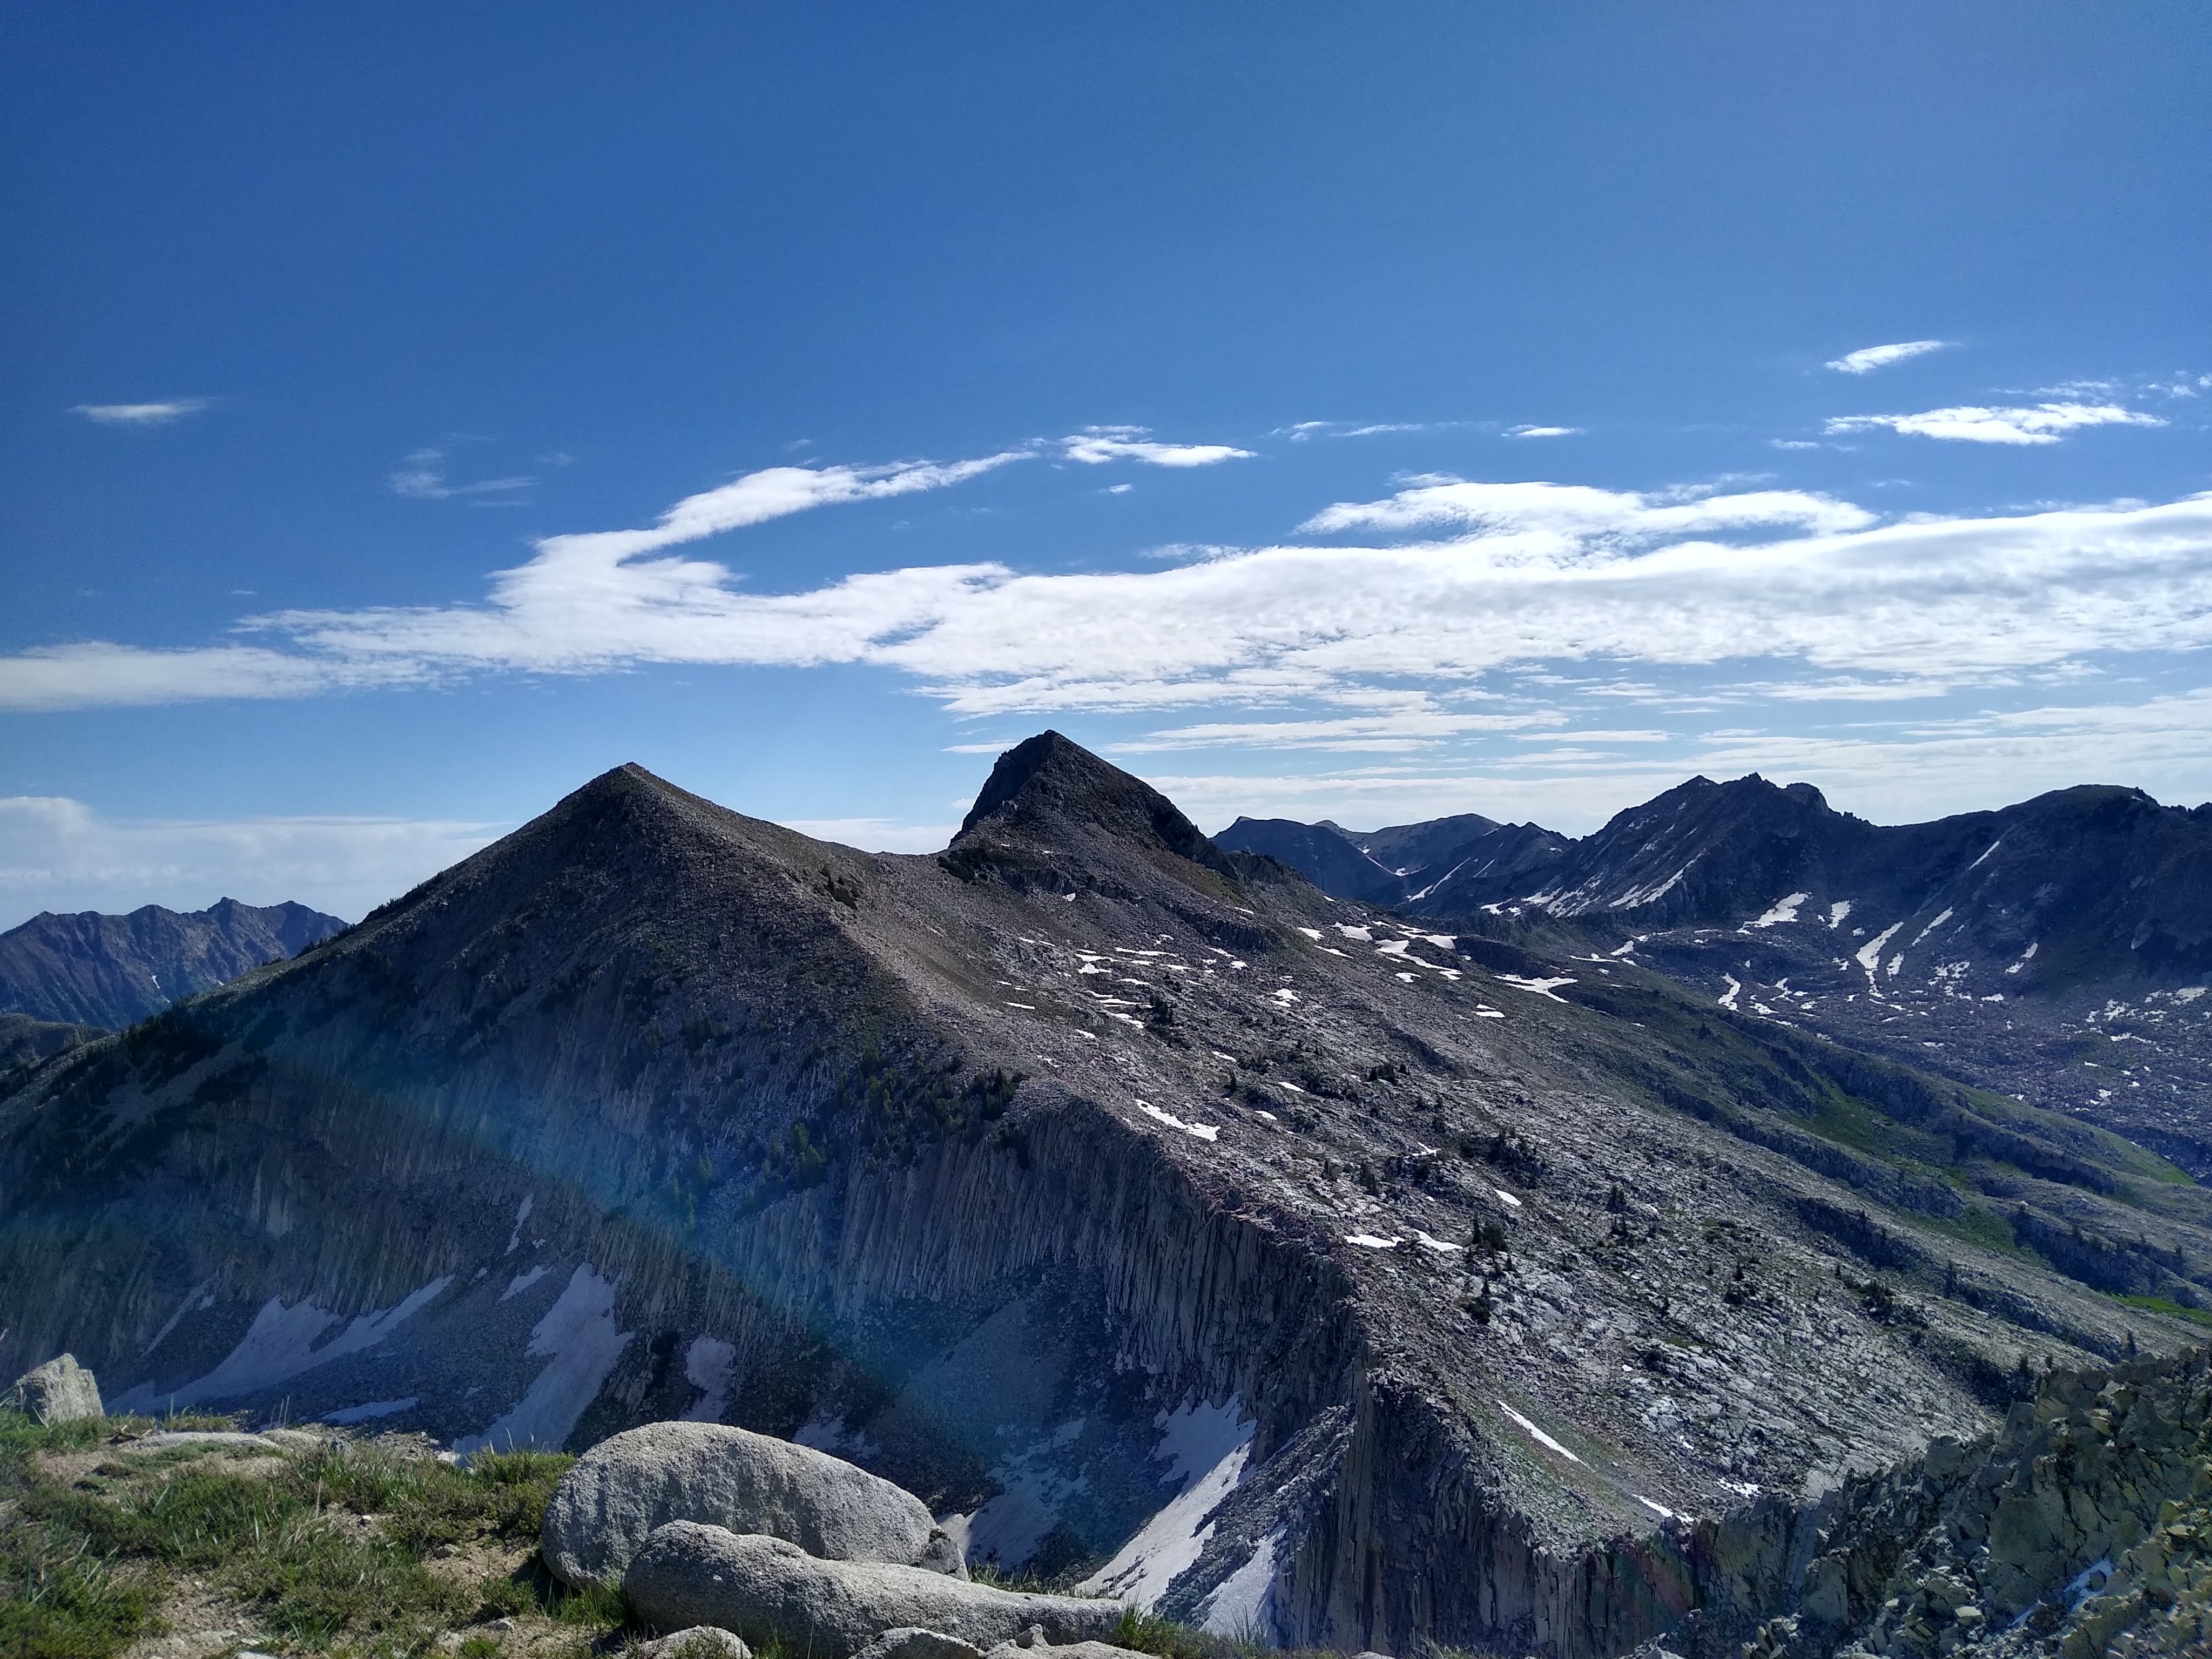
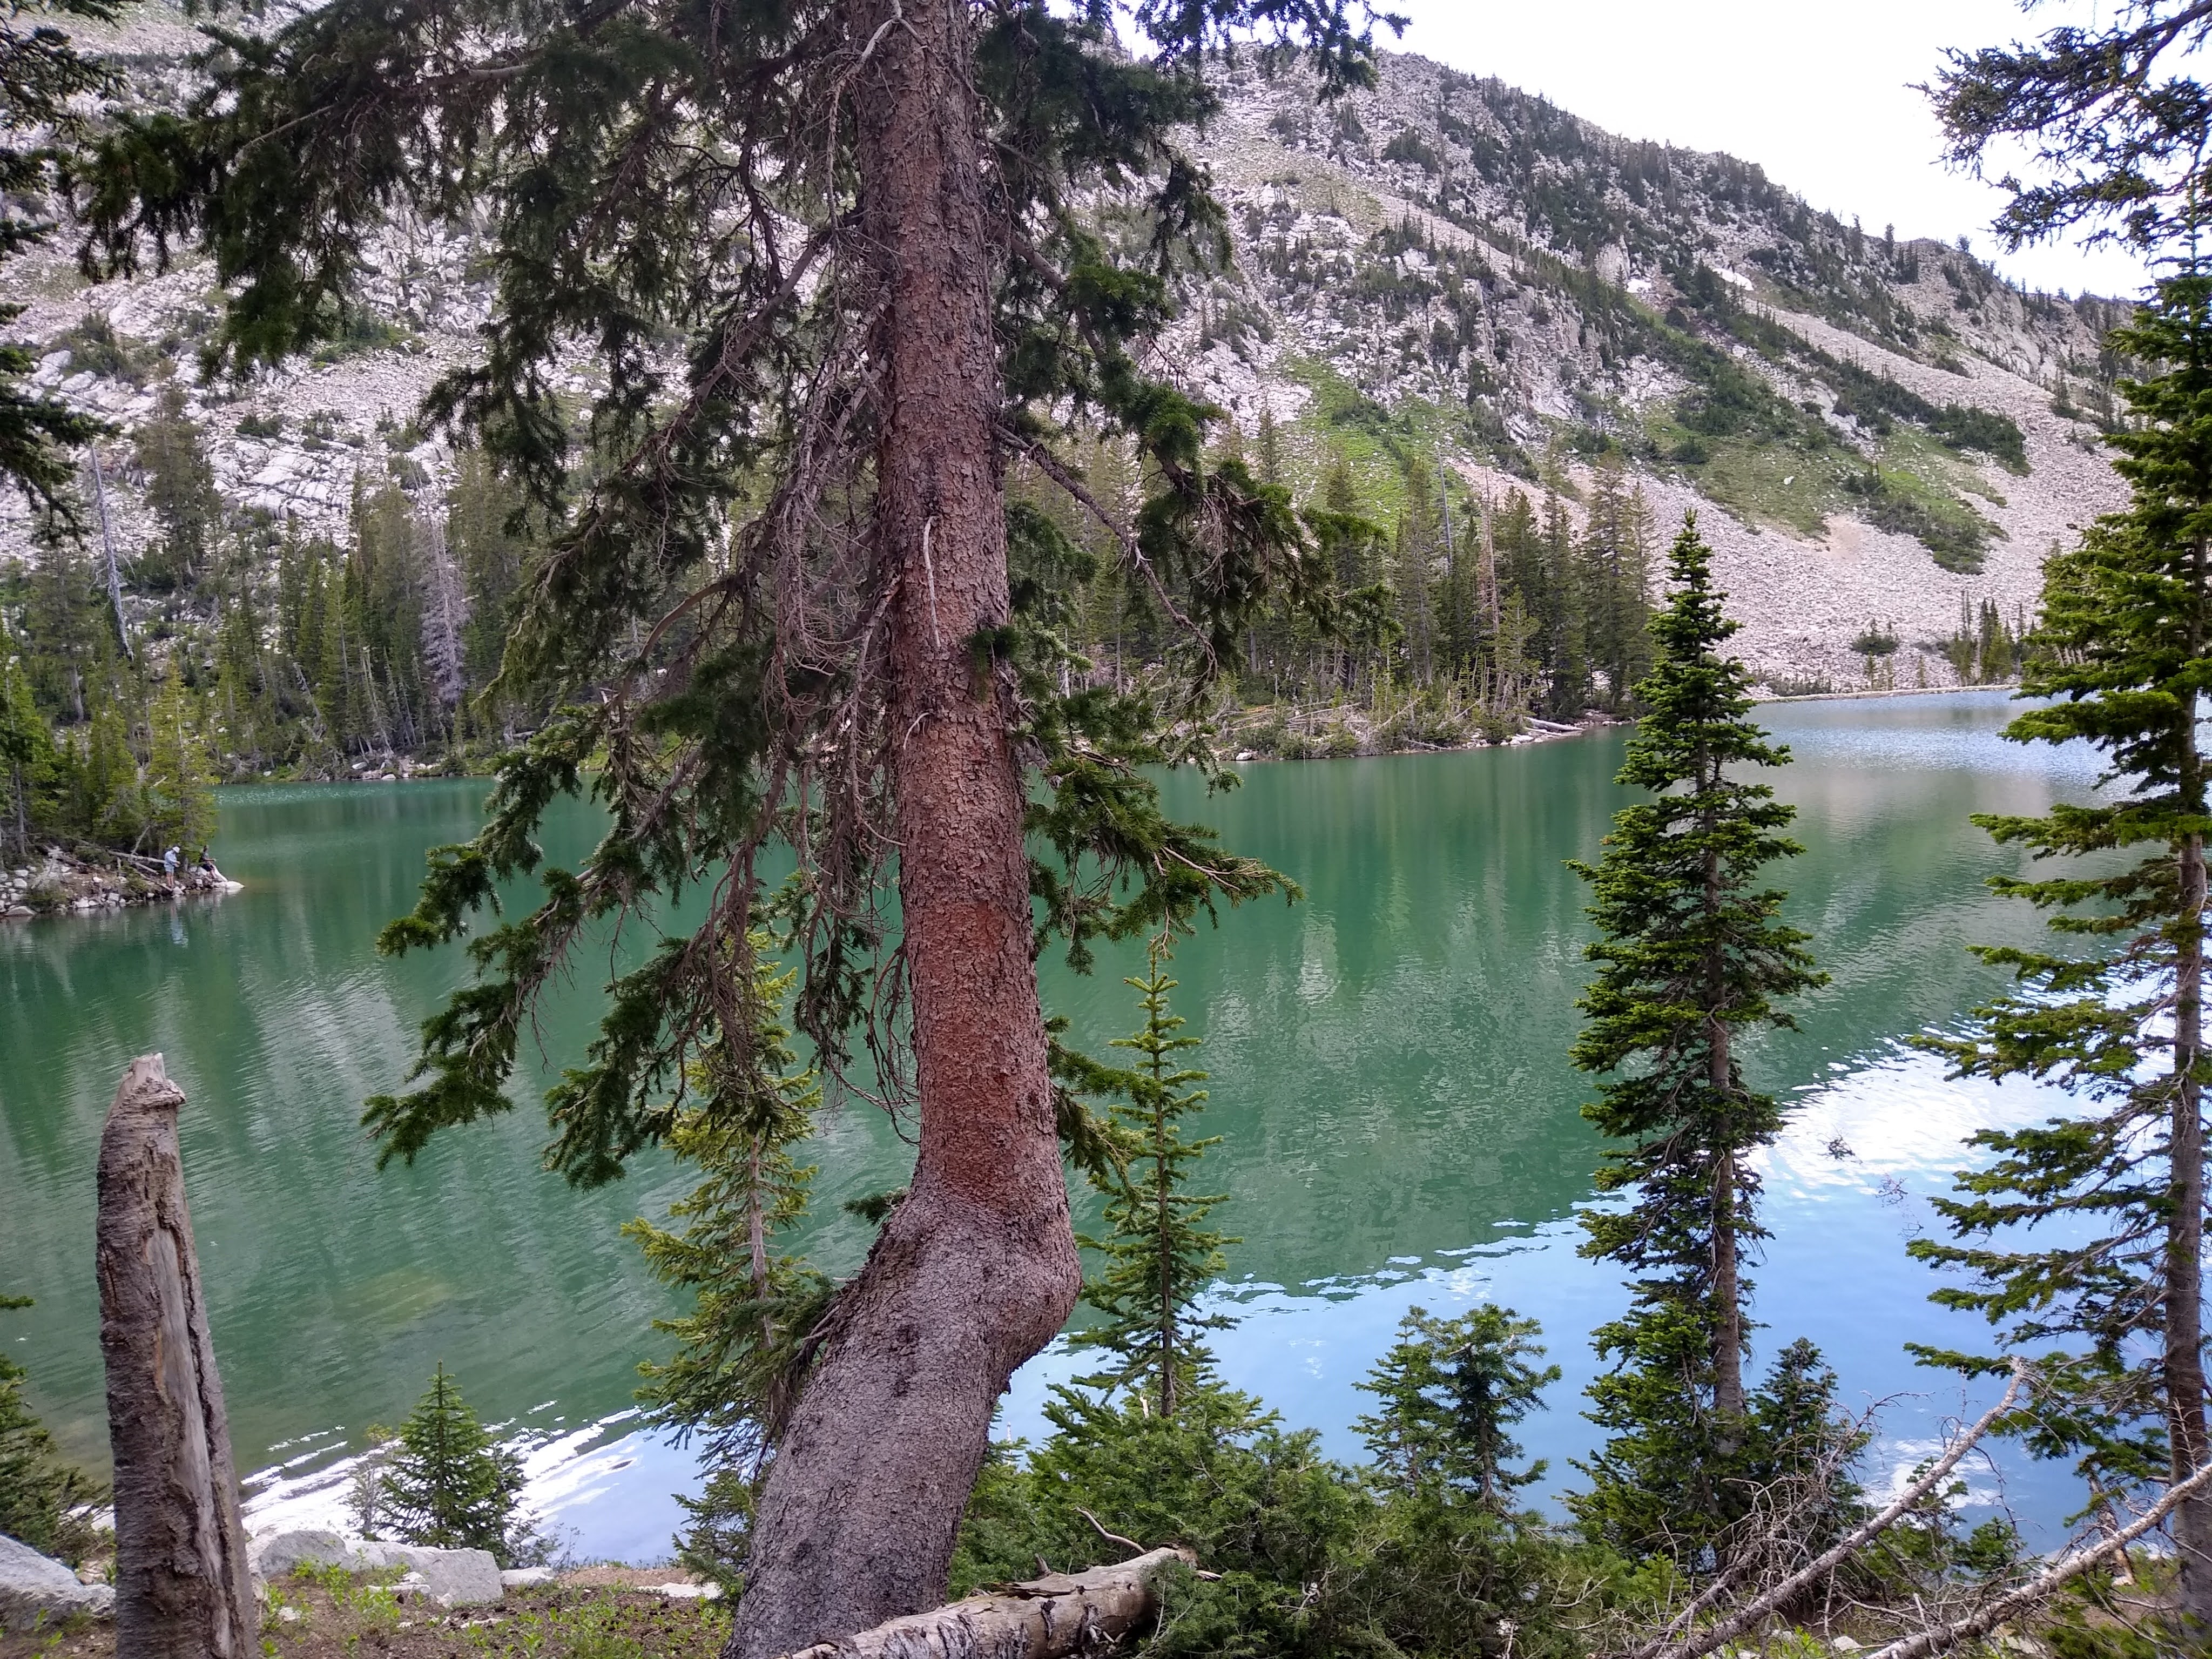
Lone’s Peak to South Thunder
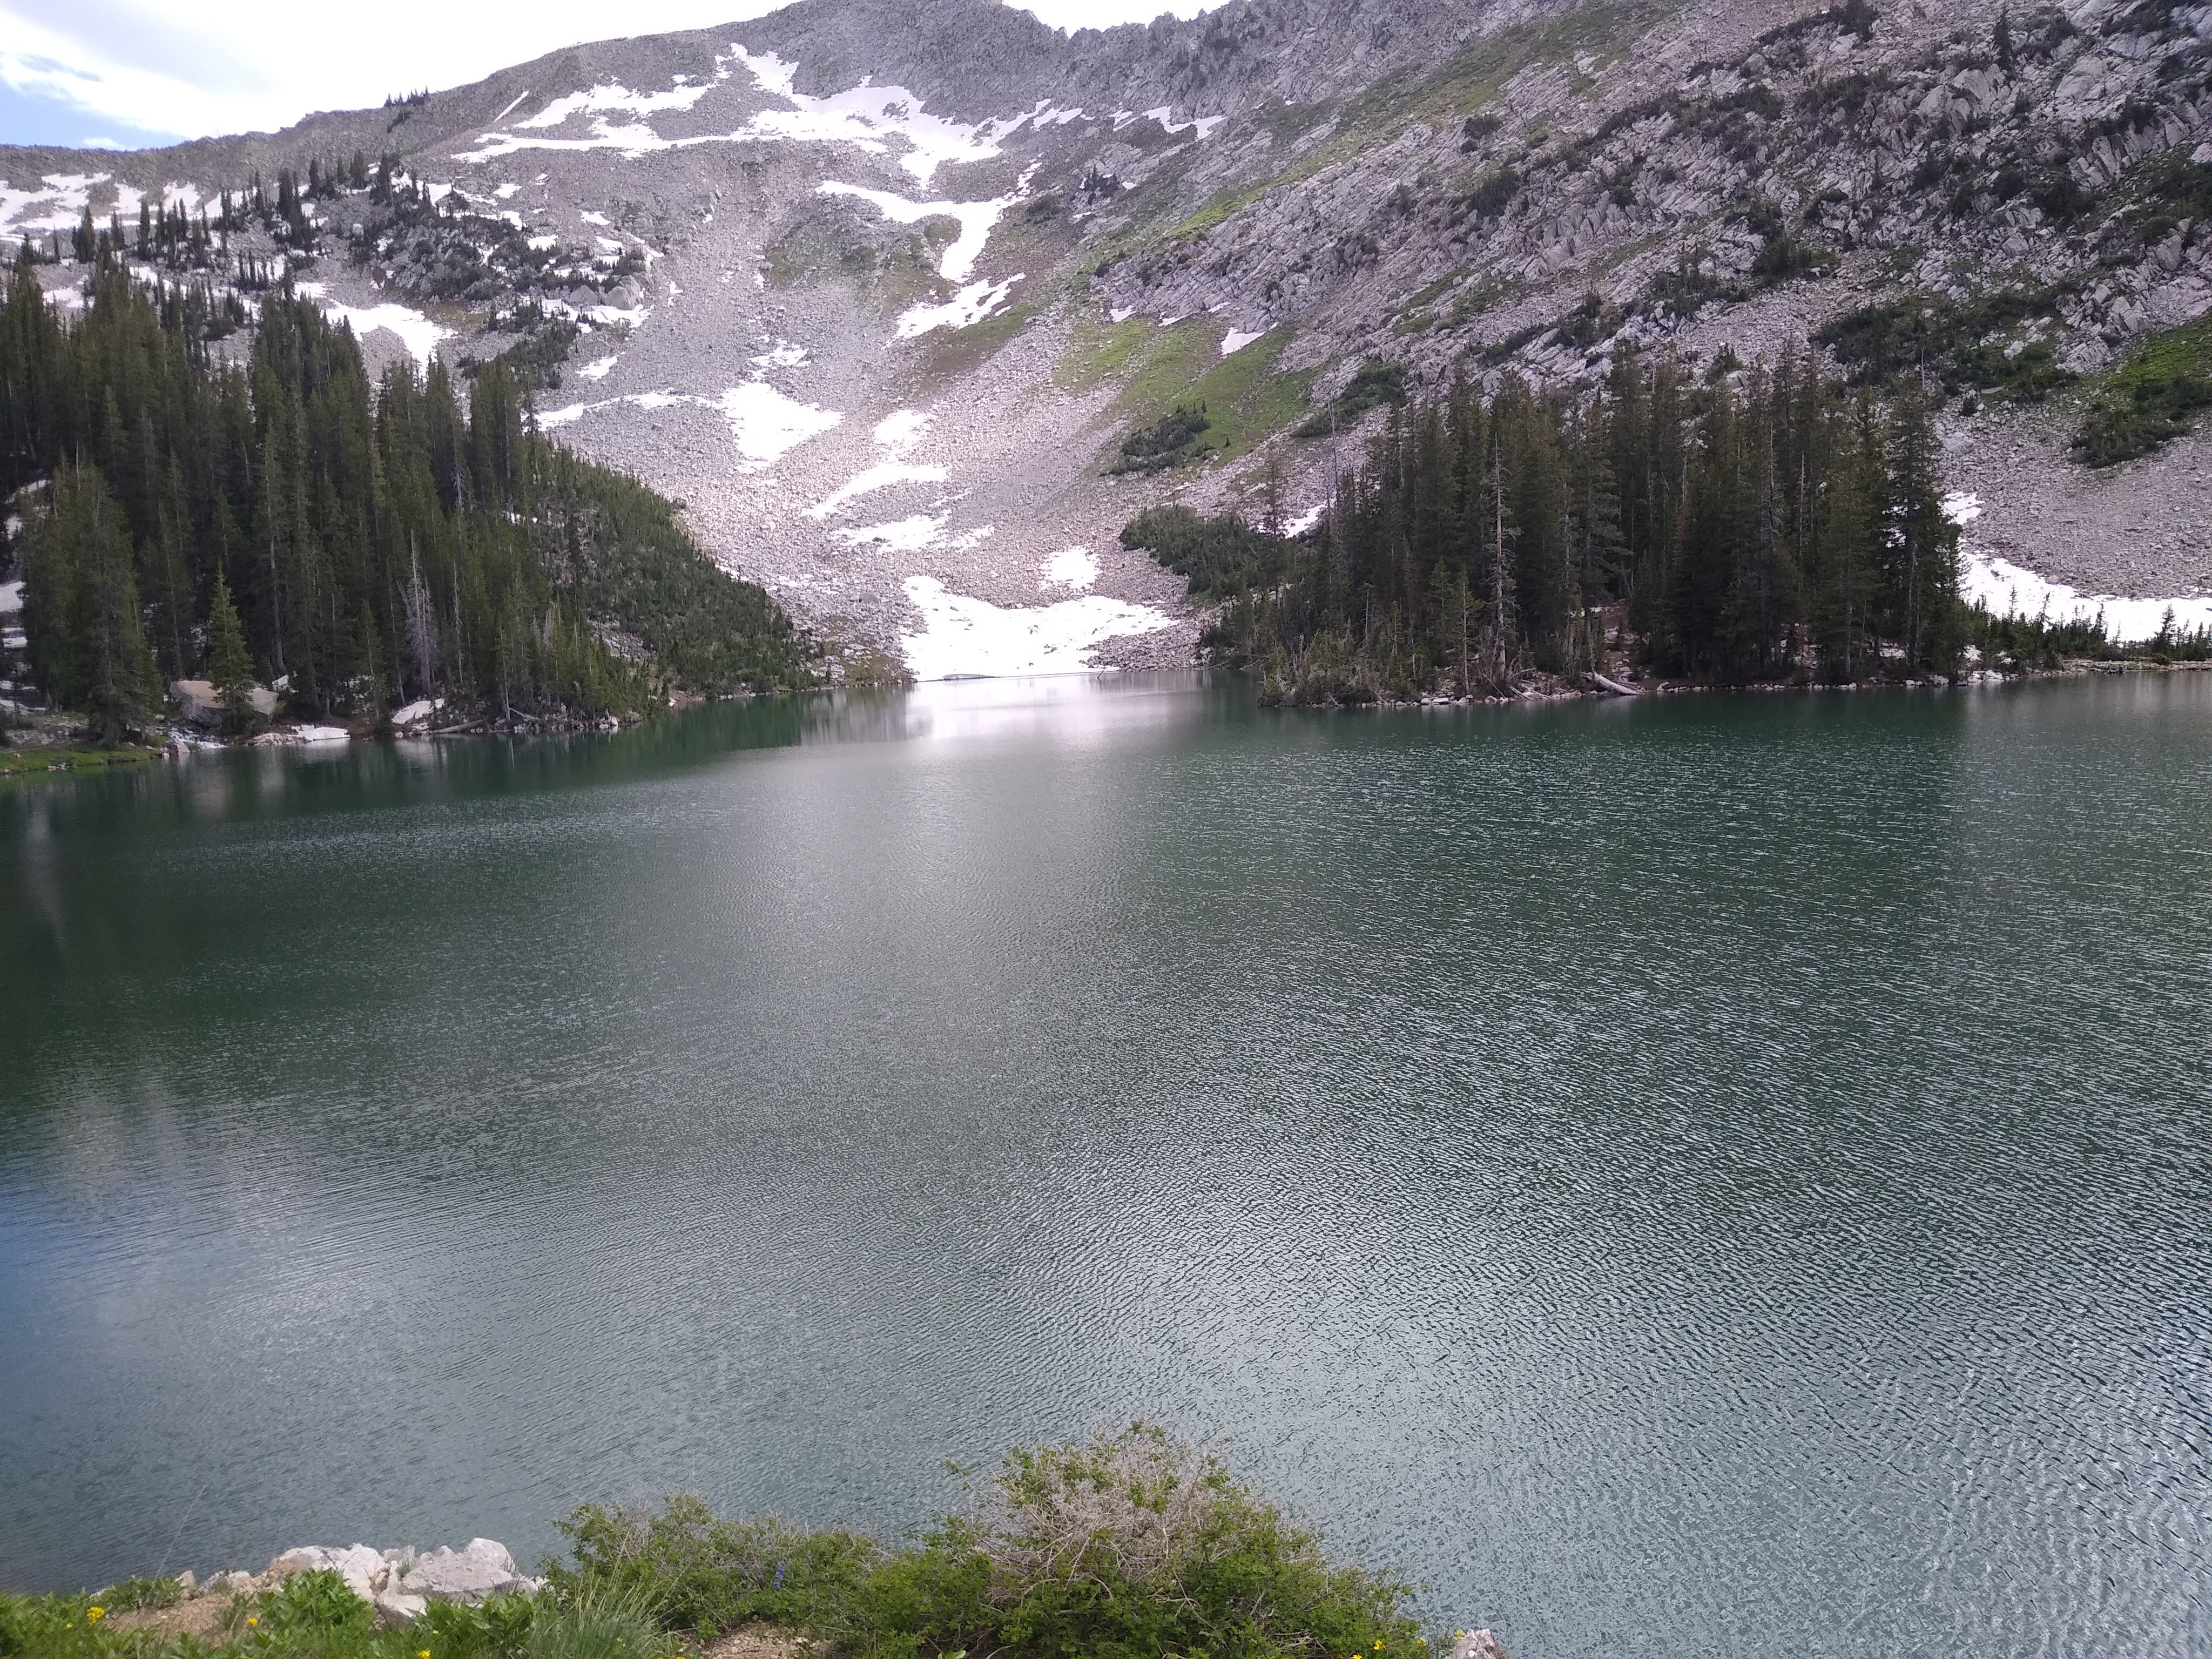
This was the trickiest part for me. You can see South Thunder along the canyon, but it will take a few hours of scrambling to get over there. I also decided to camp this night in Bell’s Canyon (plenty of water). You will need to cross Bell’s Peak and get to the far saddle. It was clearly visible with grass and much easier to descend.
Of course, the best laid plans of mice and men often go awry. I downclimbed too quickly and got stuck in a couloir. I had to do some treacherous traversing. Stick to the high ridge and don’t take unnecessary risks.
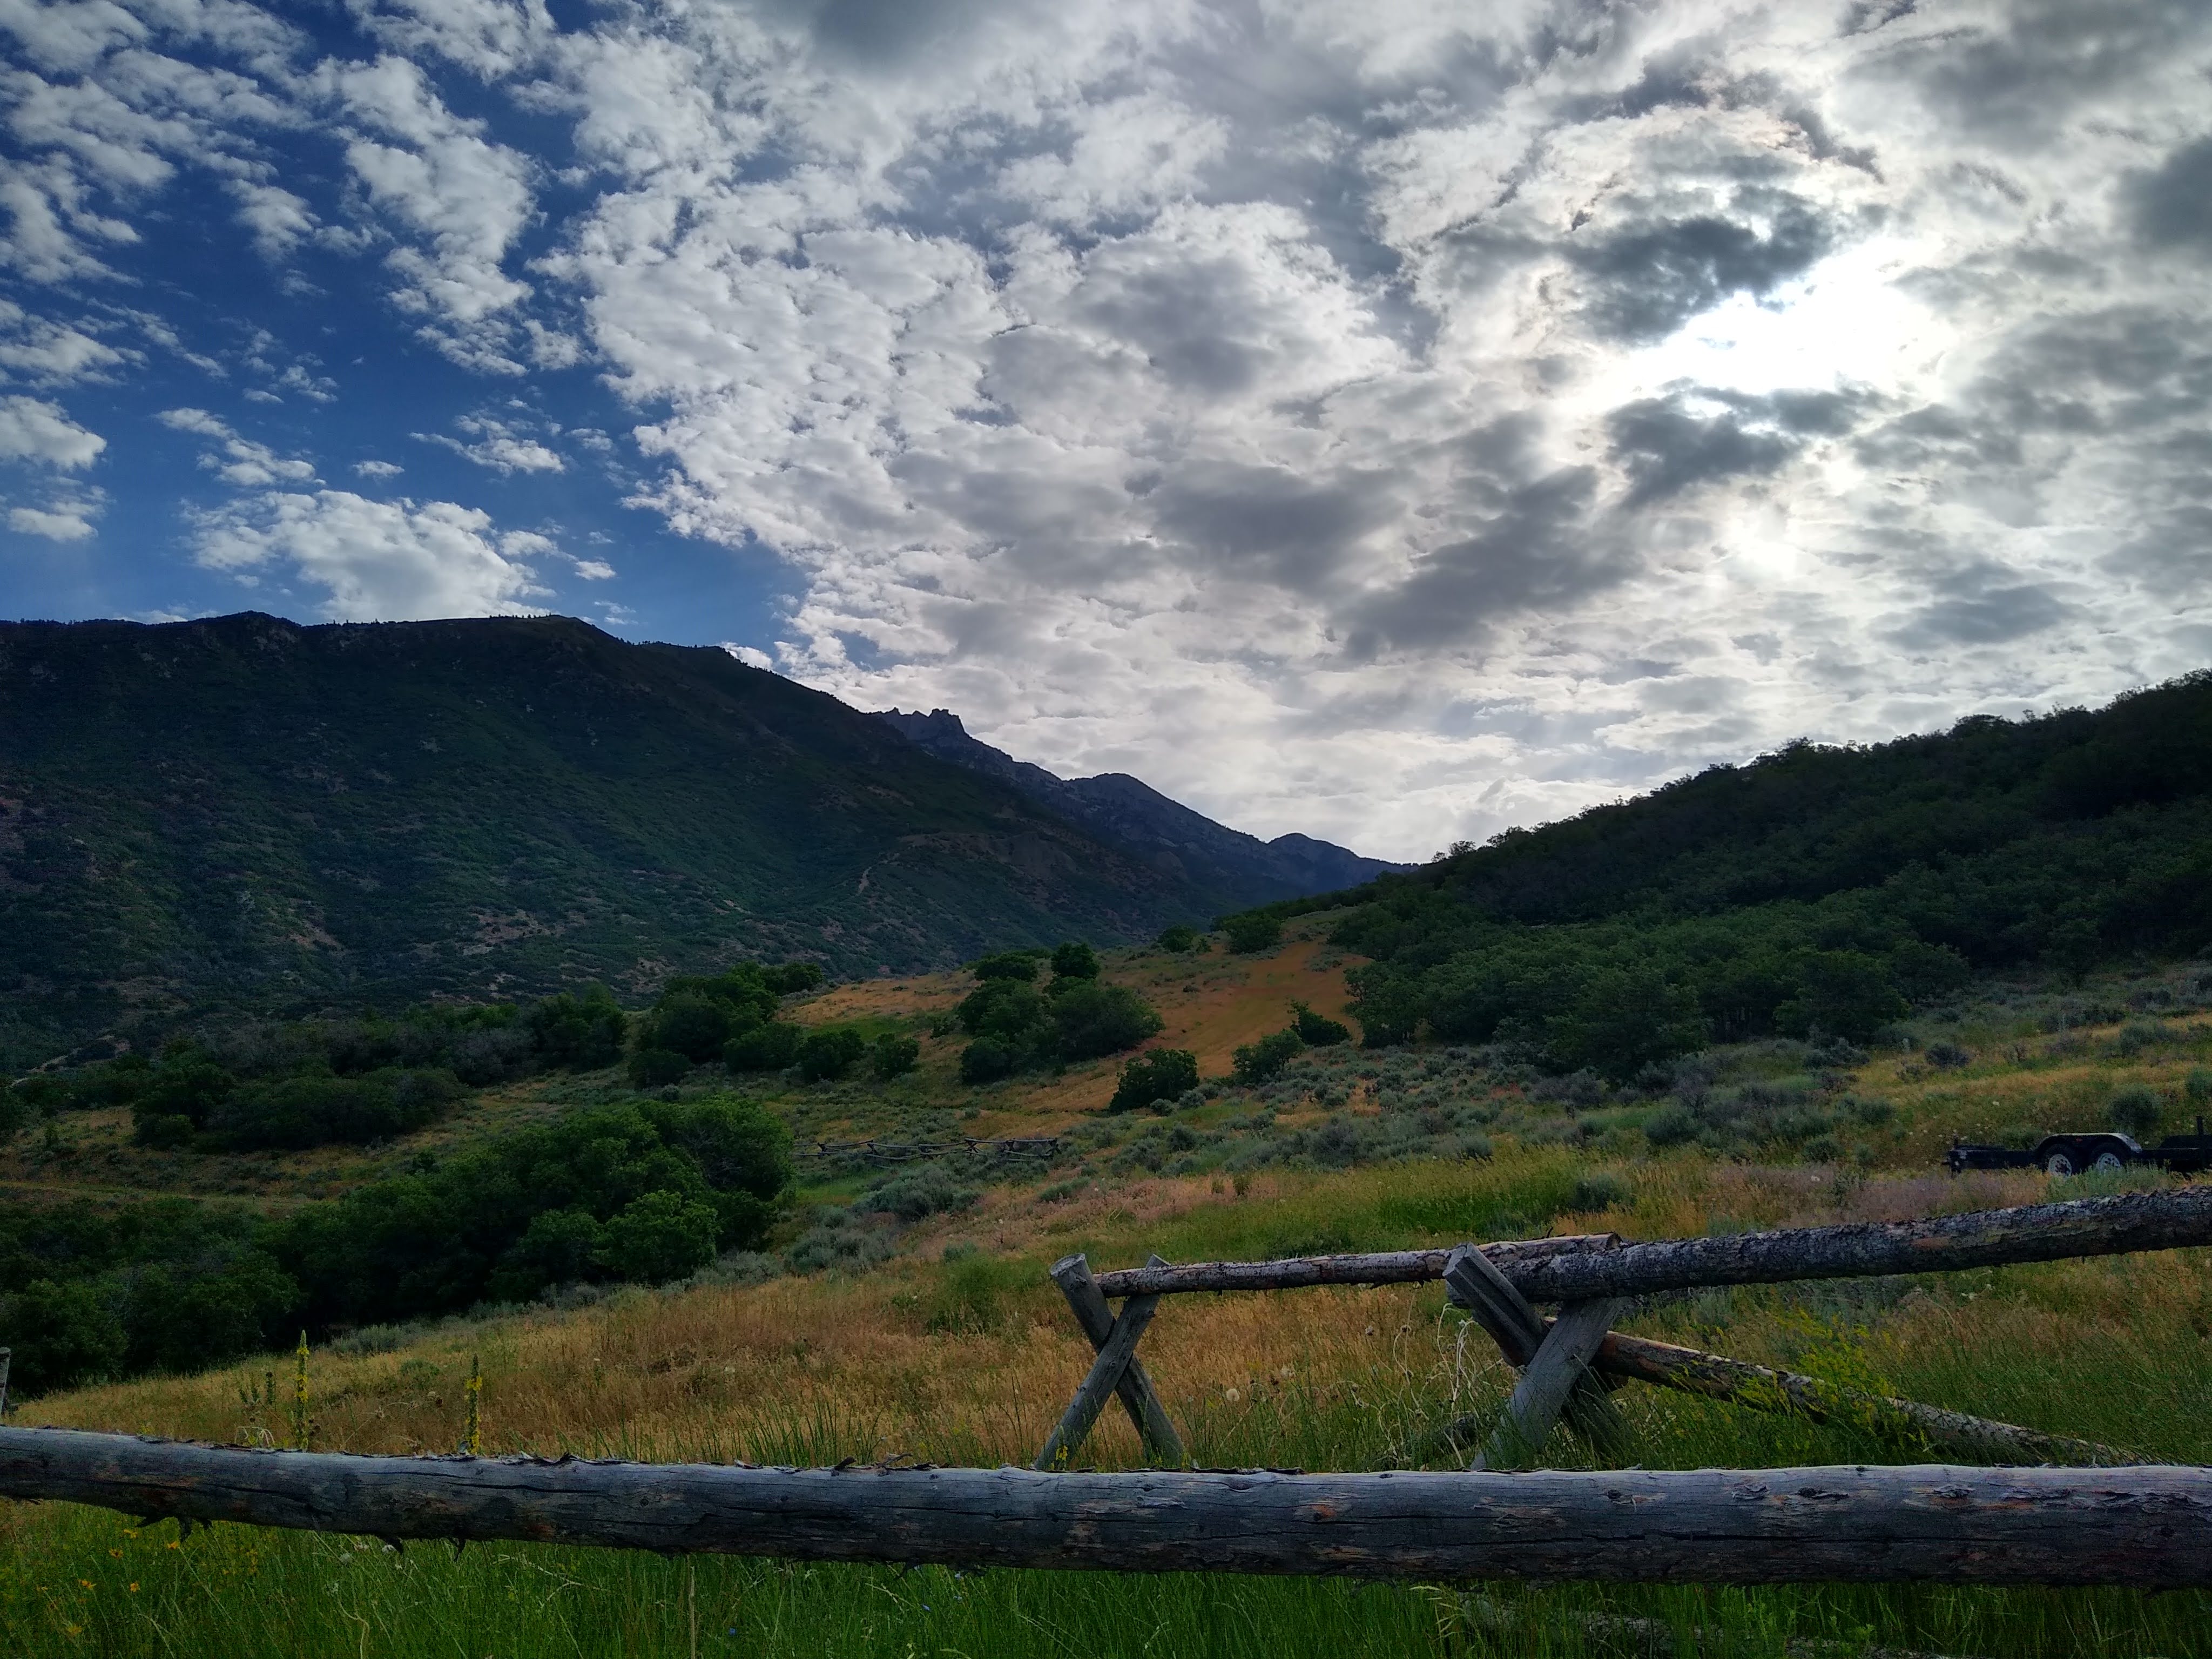
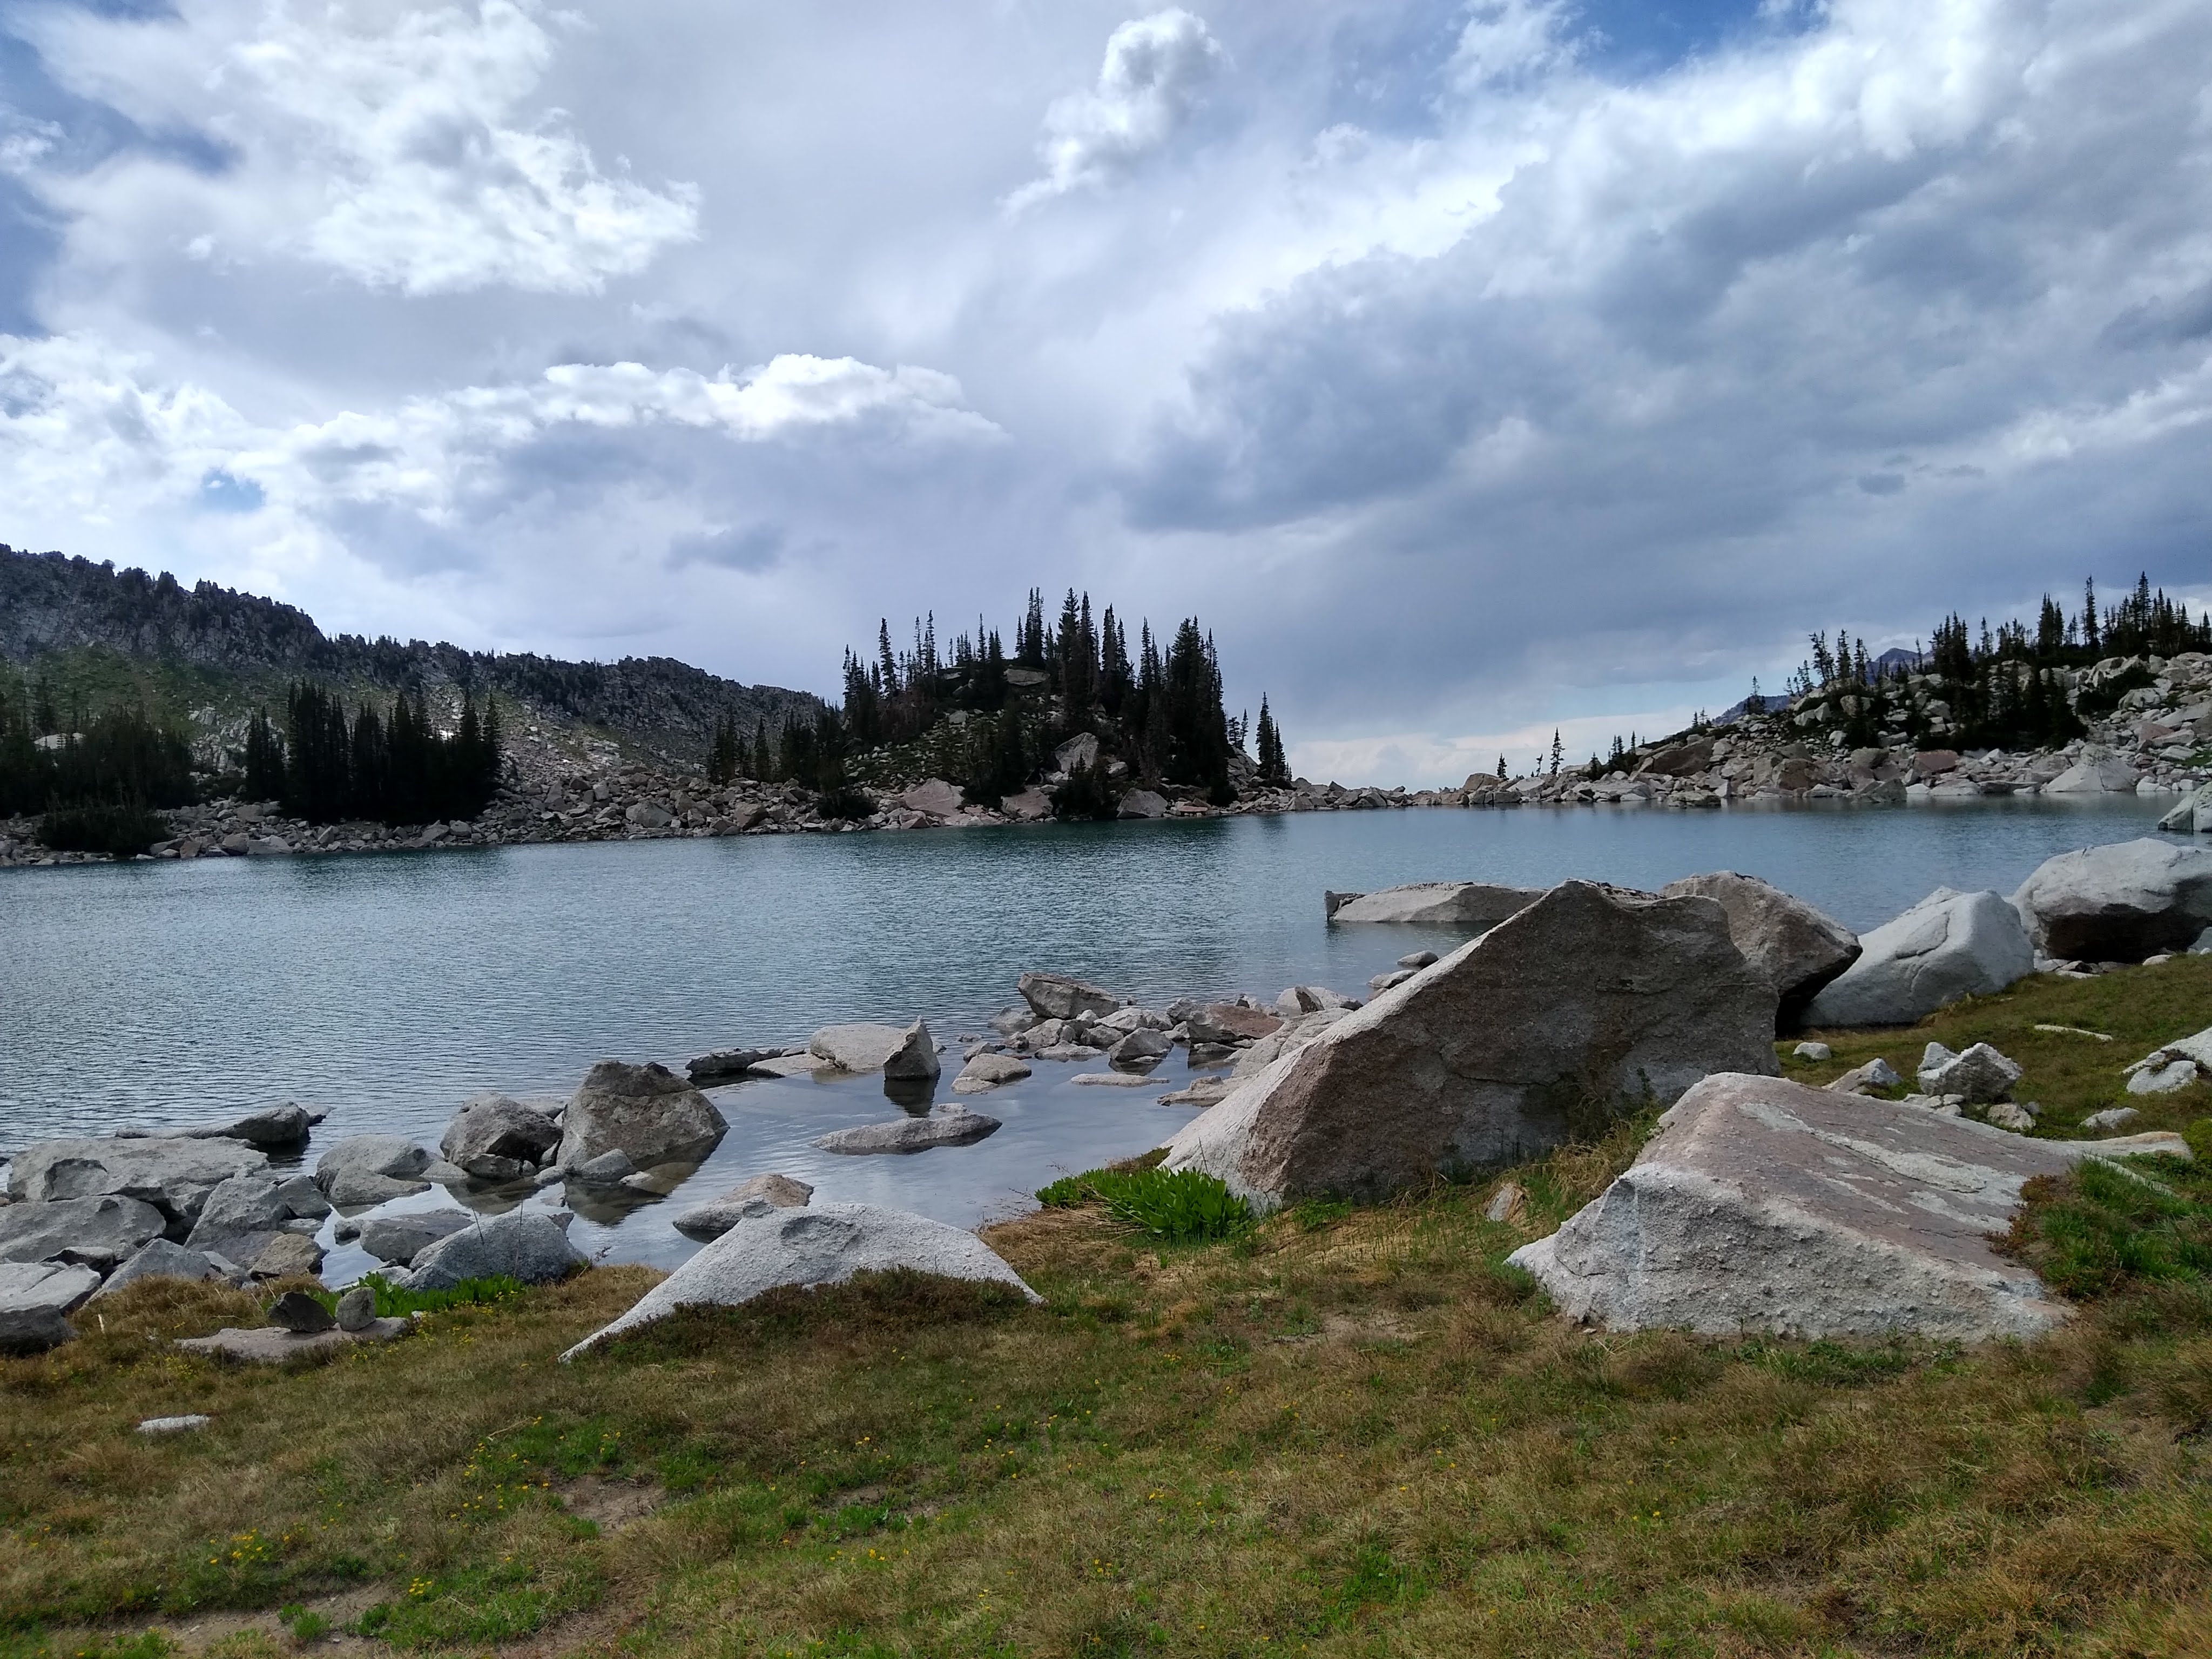
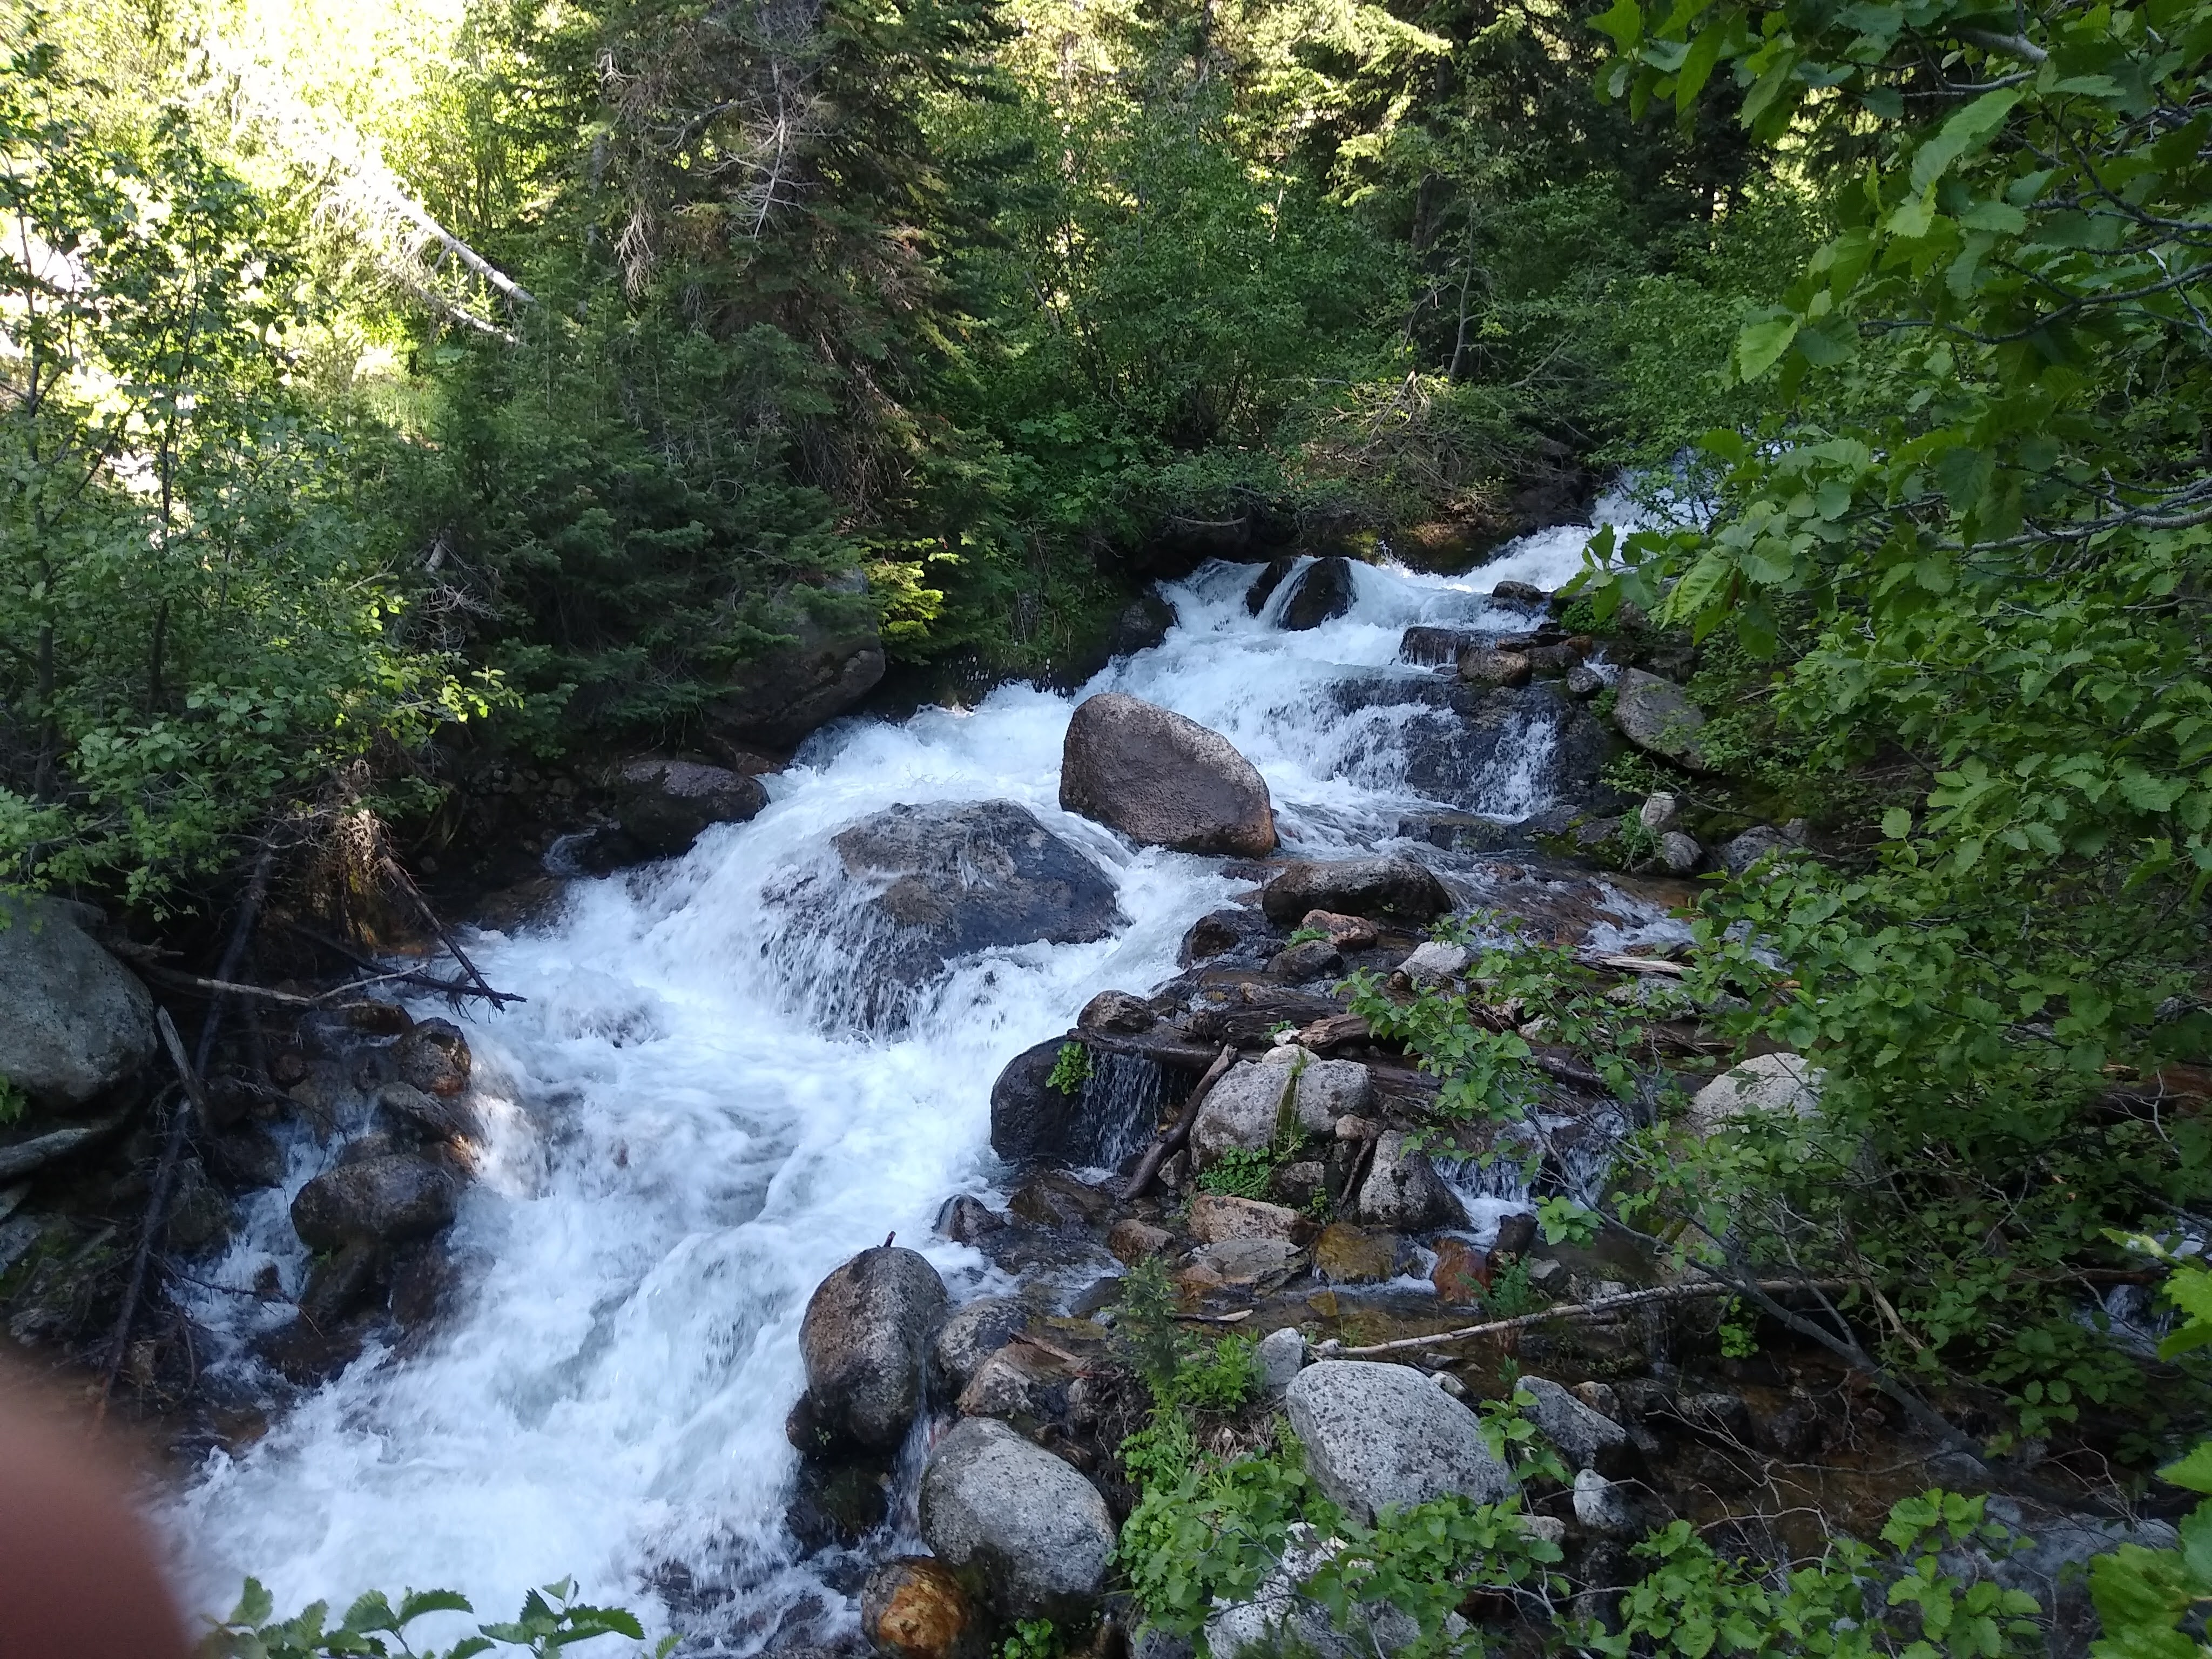
After a long journey of boulder hopping I made it to some fast-moving streams in Upper Bell’s canyon. I set up my bivy away from streams and under a tree. I made it just in time - as soon as I got my bear bag straightened out and dinner made, it started to rain.
I was in bed by 7:00 as lightning and thunder rolled in. Judging by my timing it came about 15 miles away. Here was my view on that night:
South Thunder to Pfiefferhorn
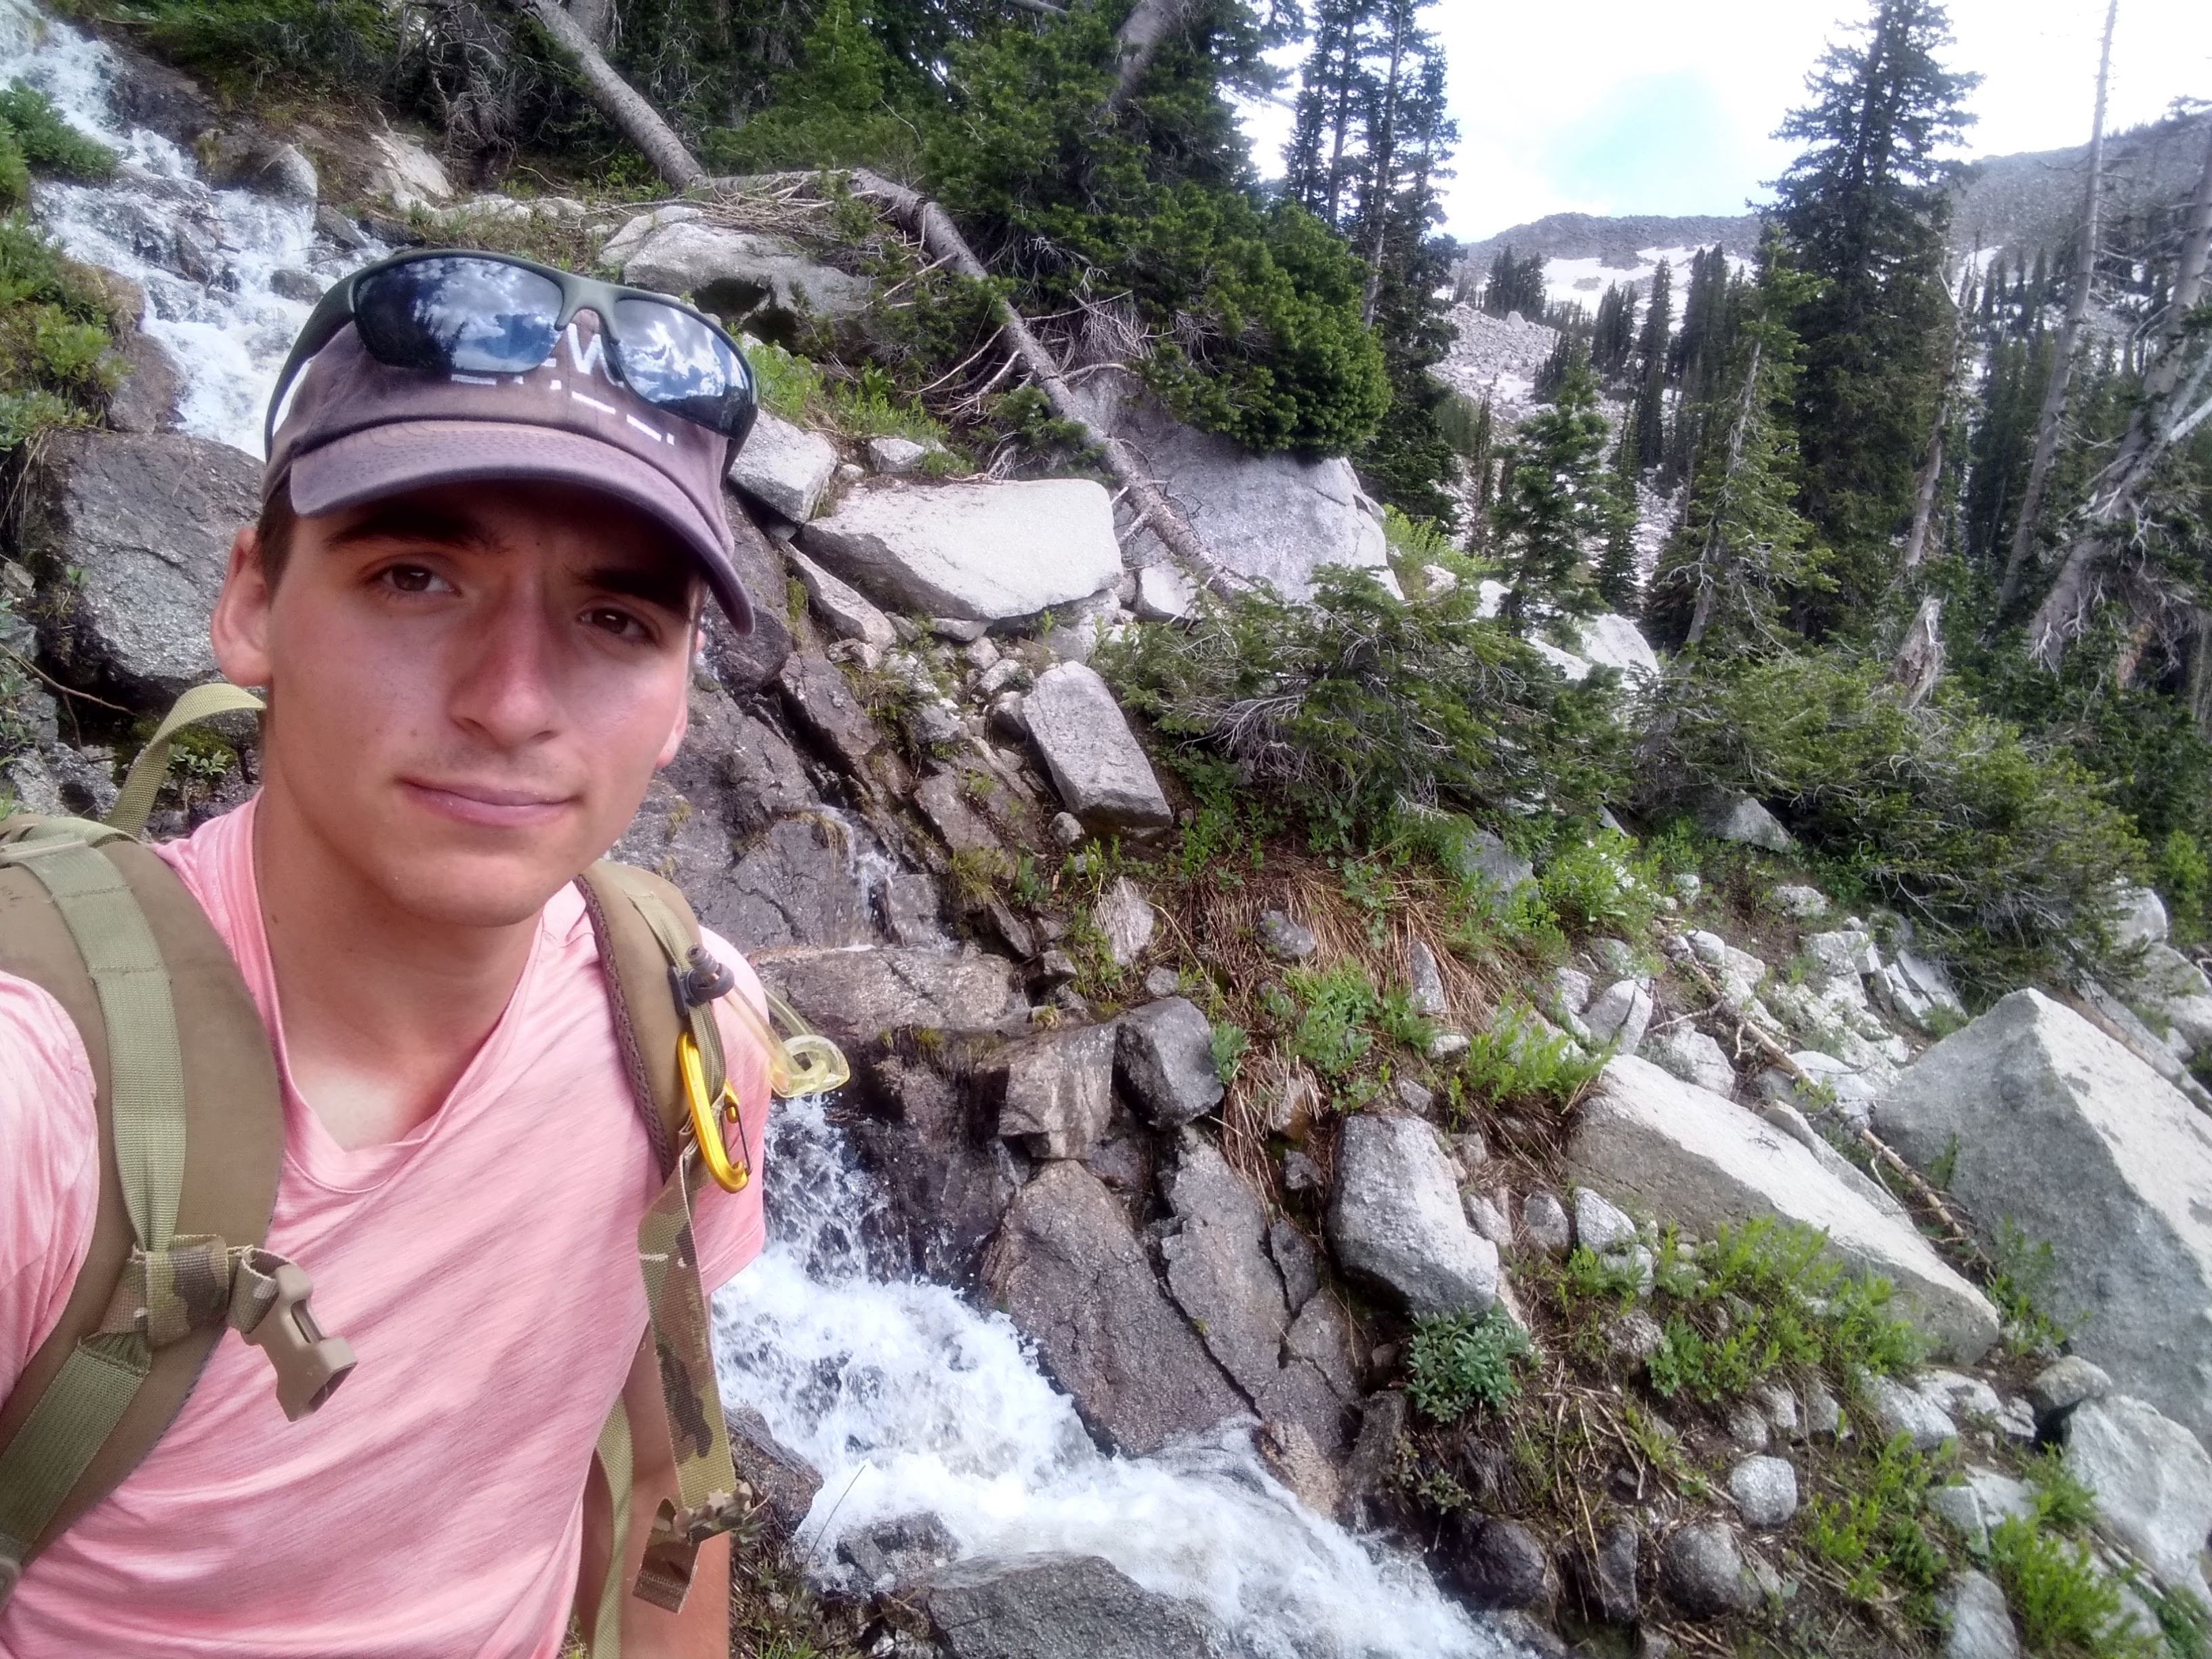
I woke up the next morning at about 0500, but the sun still hadn’t risen. I snoozed for another 30 minutes and actually got up with the sun. After packing everything up I had a newfound drive for the day’s 3 summits. South Thunder from Bell’s Canyon was mostly class 2 and a spot of class 3. It sets up nicely for Lightning ridge.
This part was probably the longest approach that took about 5-6 hours. Stay on the ridgeline the whole time. Thankfully the south side of the ridge (right while you’re traversing) is far less steep than the north side.
The whole route is a slog but is mainly class 3 with a few class 4 spats. Once you get across the ridge it gets less steep and gentler up to the summit.
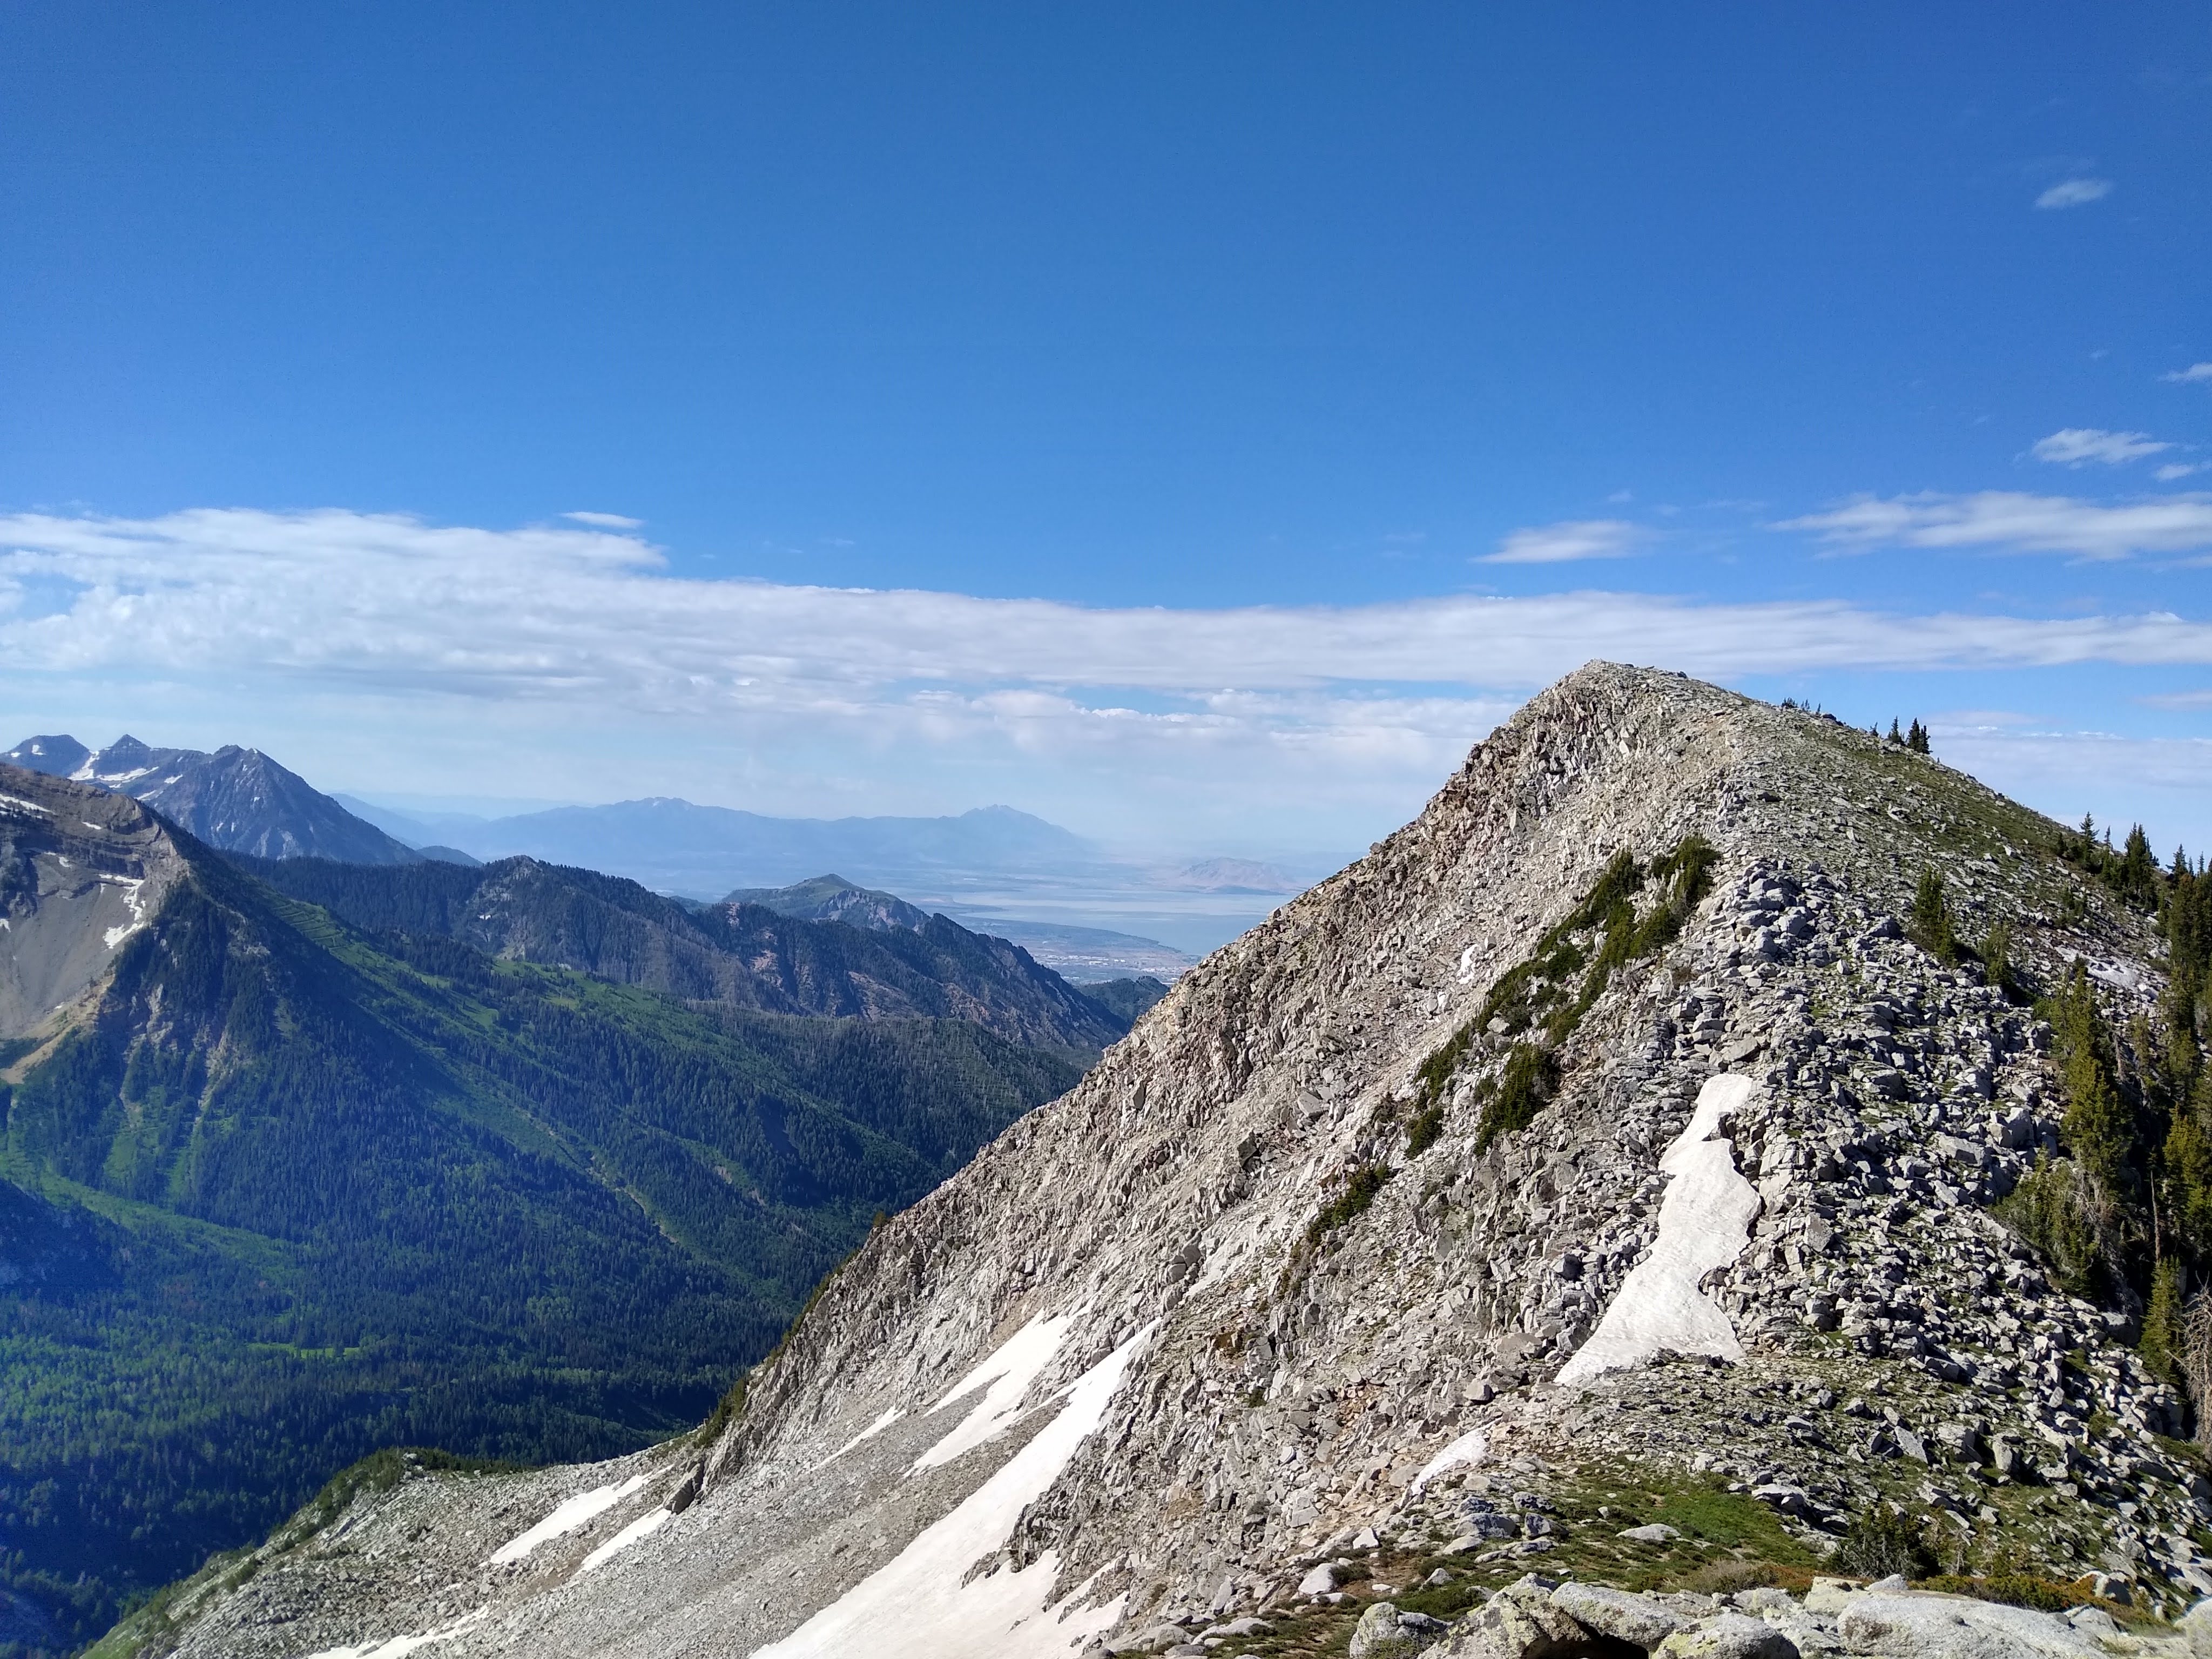
Pfiefferhorn to White Baldy
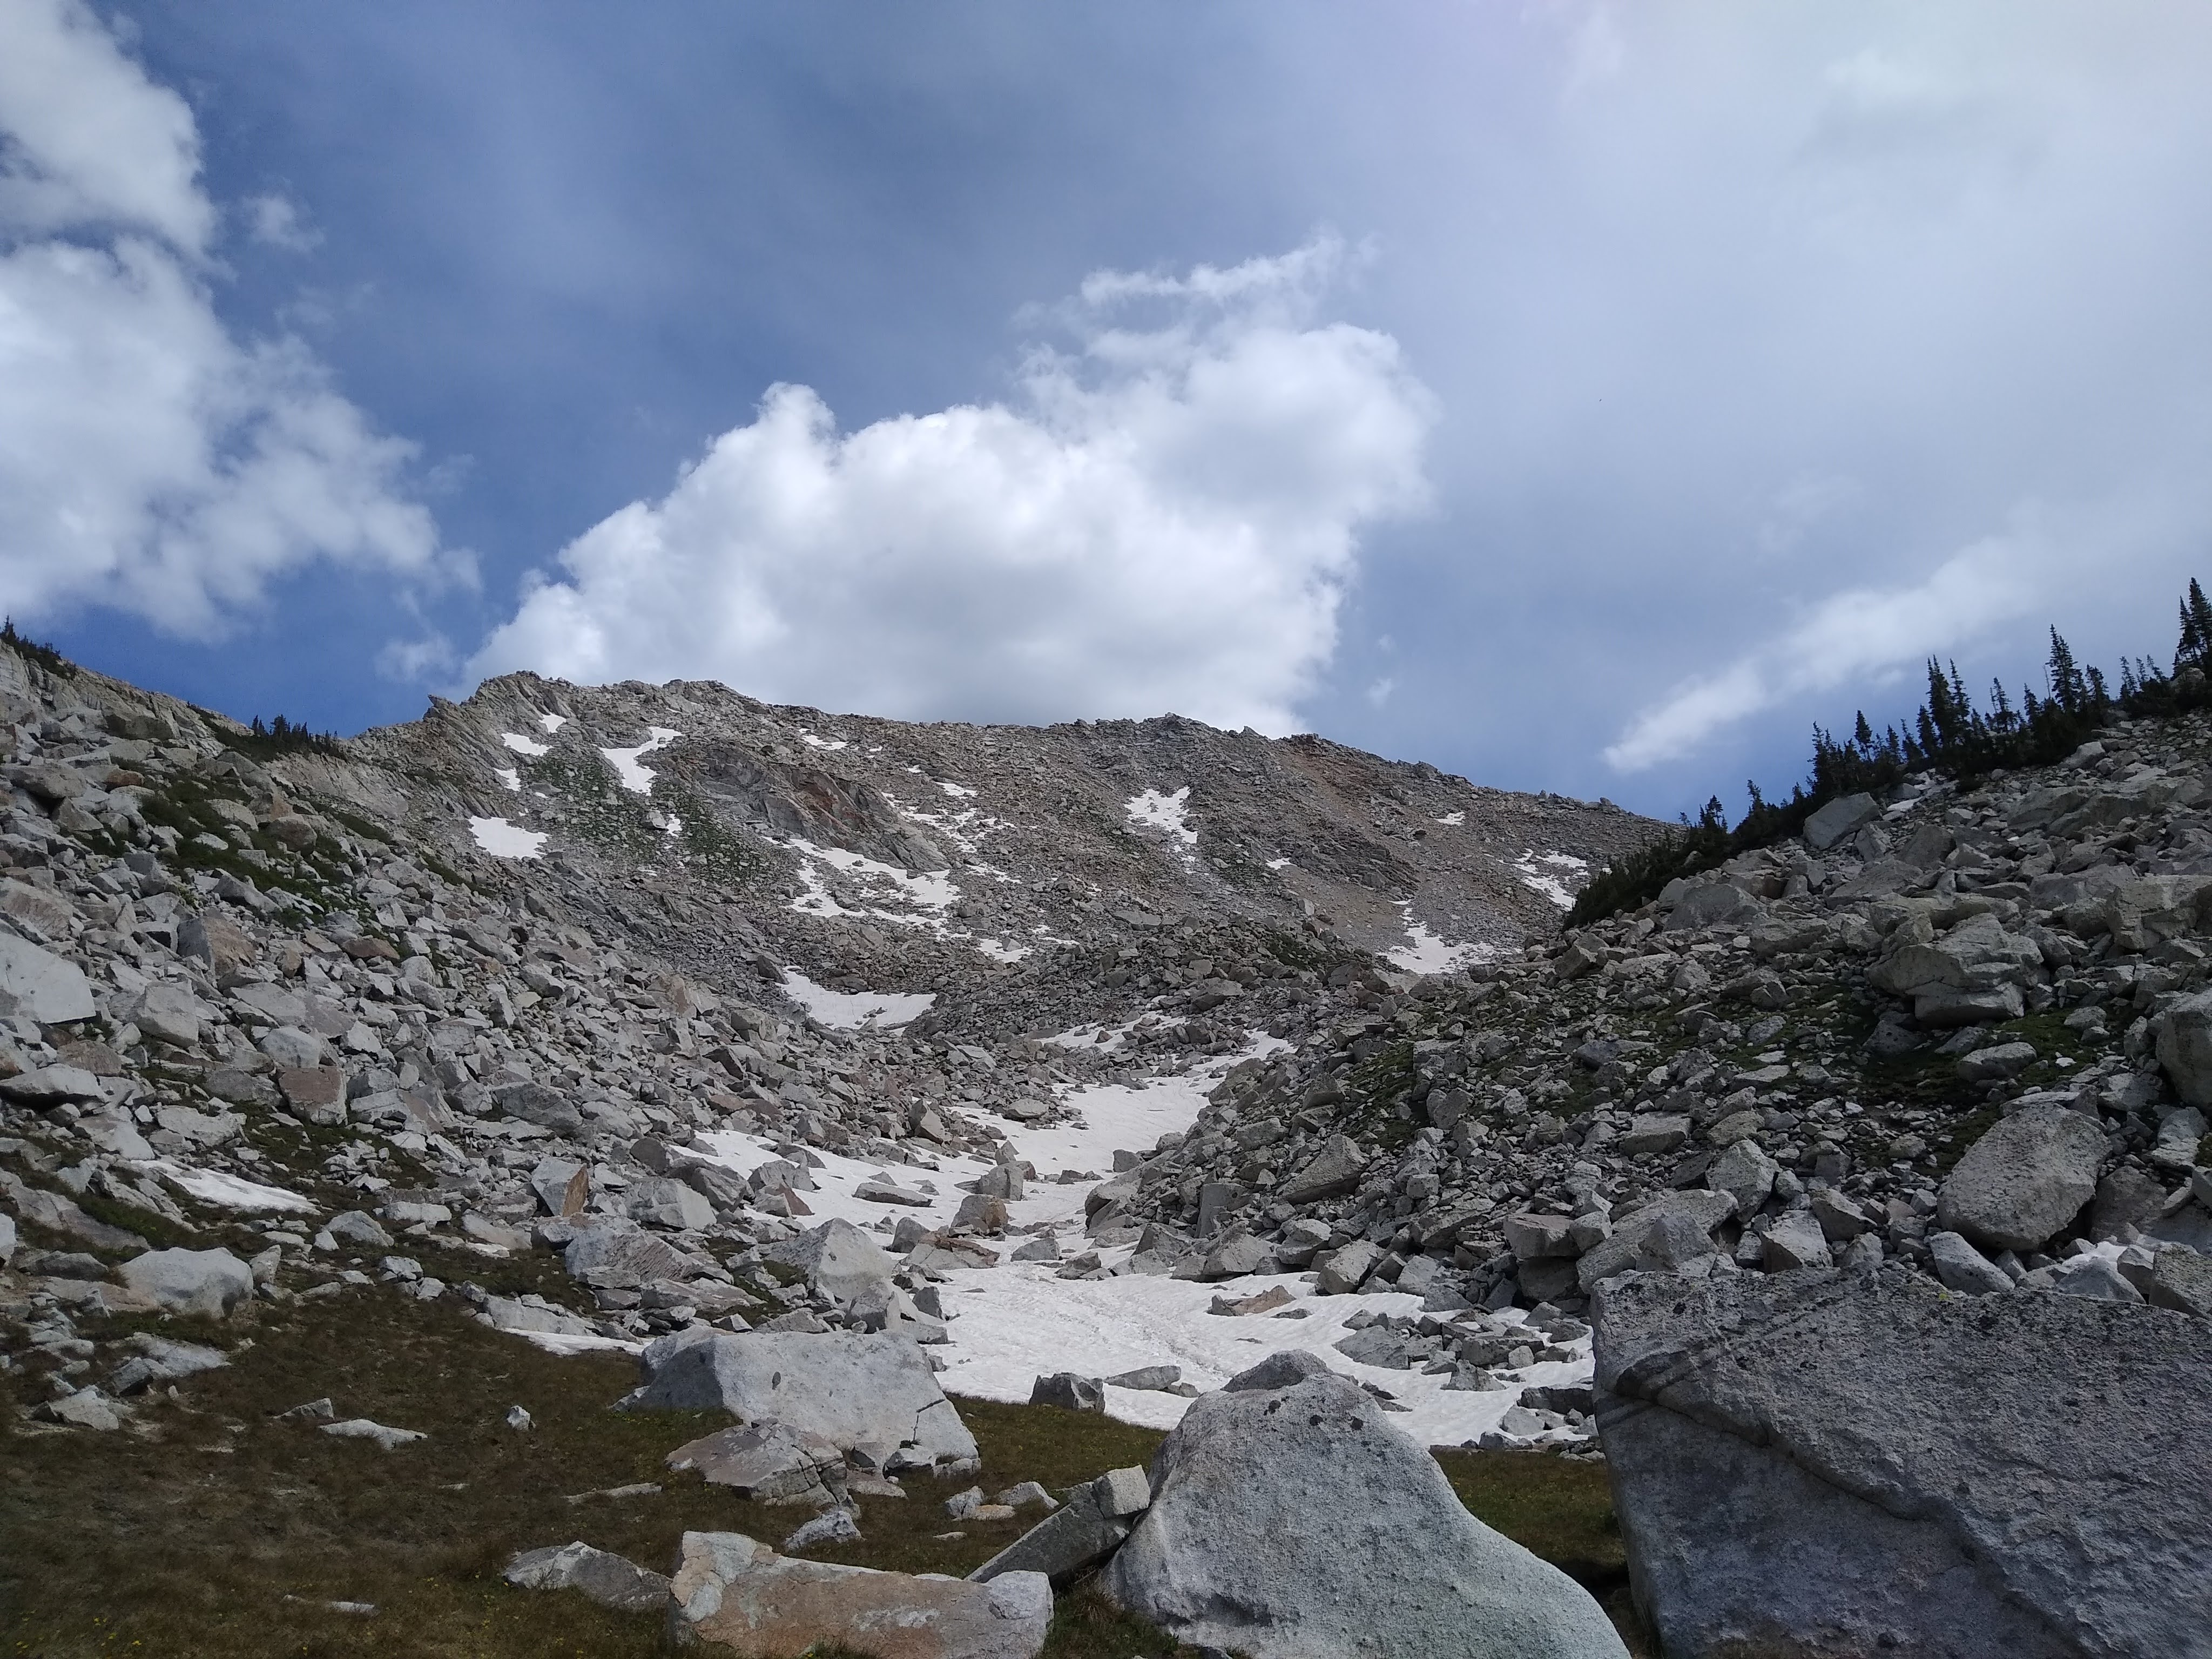
The most relieving part of the day, you can take the red pine trail down to the next saddle. It turns into class 2 about here. I stopped for lunch and had a wide, flat view on the ridge. However, this is where it gets tough. Continue on the ridge, on the highest portion and defaulting to your right, where you will have a fair amount of class 4. The ascent up to the false summit is tough and steep - I took about 5 steps before I stopped for a break each time.
After the false summit you’ll do some more boulder hopping to get to the true summit, which was marked with a trekking pole while I was there.
White Baldy to Red Pine Trailhead
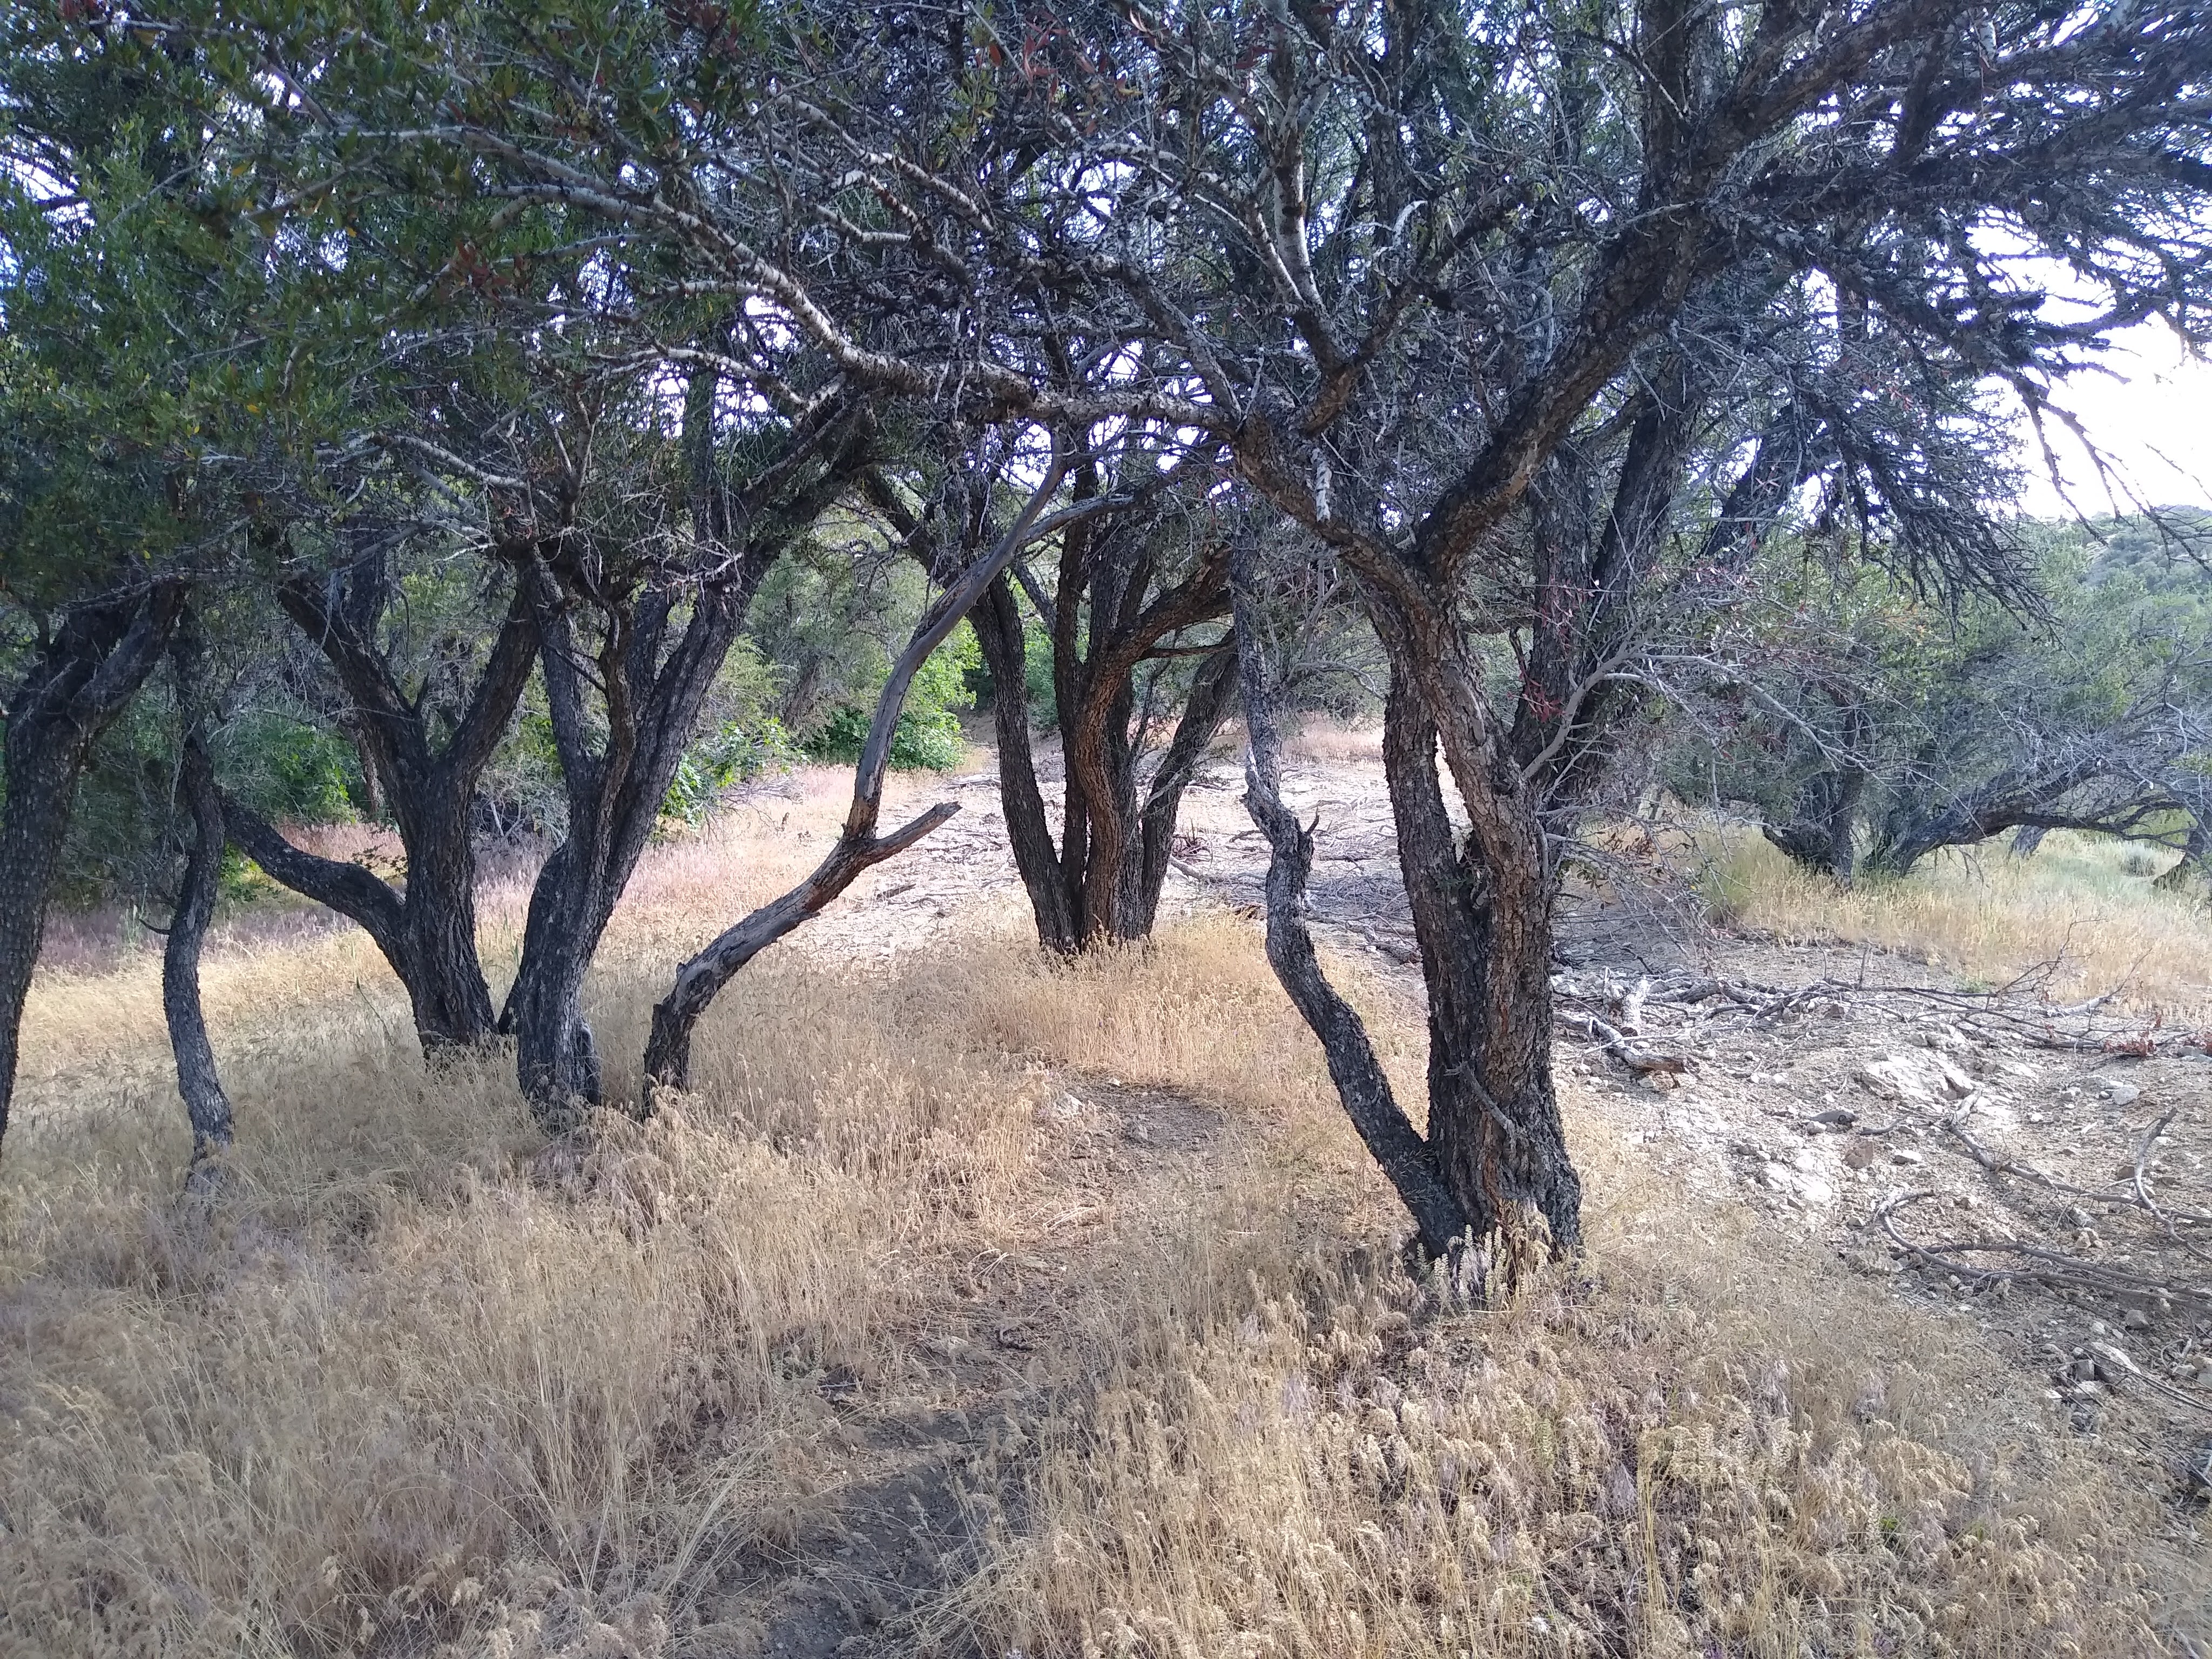
After this summit I was burned out. I was supposed to take the east ridge over to White Pine Canyon, but couldn’t make it up past another pinnacle. I downclimbed the north face of baldy through several couloirs and made it to upper red pine lake.
I eventually caught a trail around the east side of the canyon and made it down to Red Pine lake.
I filled up on water at some fast-moving falls and prepared for the 5 mile descent.
Then I finally made it to the class 2 trail and limped to the finish.
The Equipment
I brought everything needed for an alpine overnight backpacking ascent.
Camping Equipment
These items mimic the standard 10 Essentials:
- Map and compass (plus an addtional garmin fenix 5 as my new daily driver). The ridgeline is navigatable once you get up but it’s nice to know where water sources are and what canyons are in which direction. I will say, the National Geographic map for the area is split along the page, making for some headaches for navigation.
- Climbing Helmet
- Snacks
- Climbing gloves
- Rain jacket, and flannel layer
- My bivy which stayed dry the whole time
- Sleeping bag and pad
- Jetboil with 3 meals/day
I brought only basically what I needed to keep light. I used an old version of the Mystery Ranch SATL Ruck which had the added bonus of a Radio Pouch which kept everything secure and high on my back.
Ham Equipment
I changed my setup to be a little lighter. I did away with my key and removed vital components from my case (the EFHW balun and battery charging switch) to be inside small plastic containers inside the KX2 carrying case:
- Elecraft KX2 with Tuner
- N2WU EFHW
- N2WU Mast. Unfortunately this guy broke so I need a new one!
- CW paper and pen
The Contacts
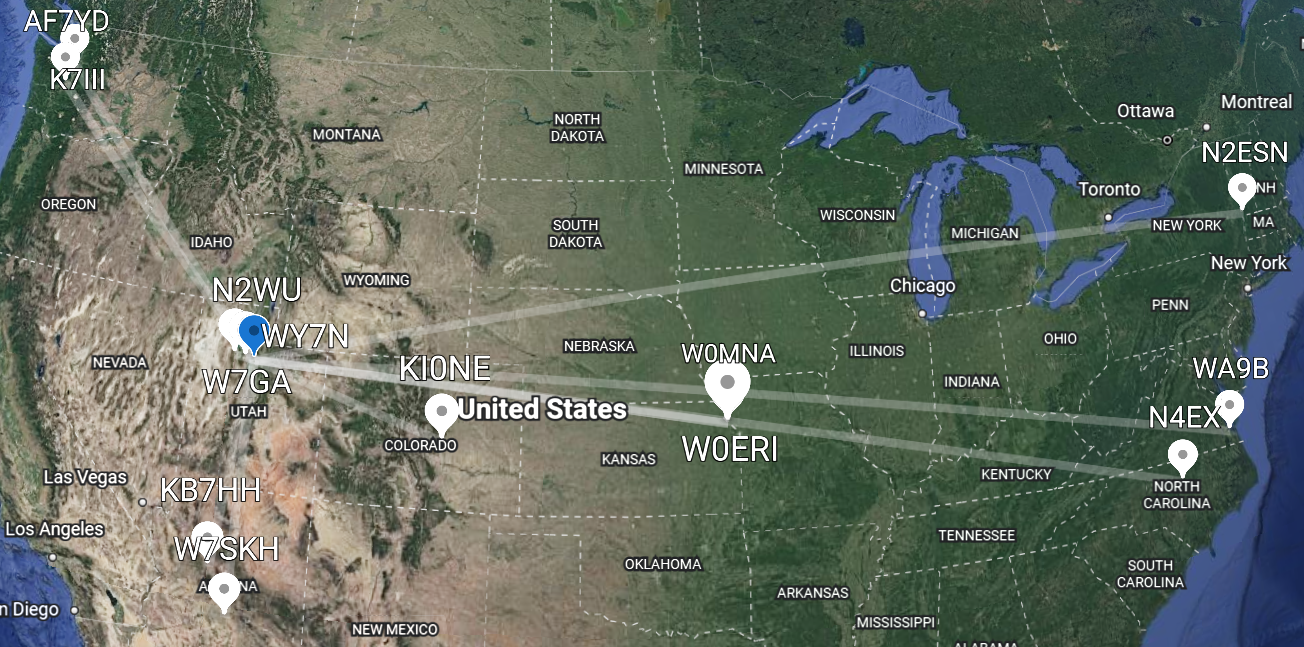
I put my information on SOTAWatch and made it within an hour of my estimations. I actually got great propagation on all four summits.
Lone Peak W7U/SL-003 Contacts
| Callsign | Band | Time | Location |
|---|---|---|---|
| W0MNA | 20M CW | 1956 | Kansas |
| W0ERI | 20M CW | 1957 | Kansas |
| WY7N | 20M CW | 1958 | Local Utah |
| N4EX | 20M CW | 2001 | North Carolina |
South Thunder Peak W7U/SL-004 Contacts
| Callsign | Band | Time | Location |
|---|---|---|---|
| W0MNA | 20M CW | 1412 | Kansas |
| W0ERI | 20M CW | 1413 | Kansas |
| N4EX | 20M CW | 1419 | North Carolina |
| N2ESN | 20M CW | 1420 | Vermont |
| WY7N | 20M CW | 1422 | Local Utah |
| WA9B | 20M CW | 1424 | Virginia |
Pfiefferhorn W7U/NU-018 Contacts
| Callsign | Band | Time | Location |
|---|---|---|---|
| KB7HH | 20M CW | 1724 | Arizona |
| K7III | 20M CW | 1729 | Washington |
| W7GA | 20M CW | 1733 | Utah |
| W7SKH | 20M CW | 1736 | Arizona |
White Baldy W7U/SL-002 Contacts
| Callsign | Band | Time | Location |
|---|---|---|---|
| KI0NE | 20M CW | 2008 | Minnesota |
| AF7YD | 20M CW | 2010 | Tacoma |
| W0MNA | 20M CW | 2012 | Kansas |
| W0ERI | 20M CW | 2013 | Kansas |
Map
Here’s a map from adif to KML
Conclusion
I was finally able to test my mettle on true Westward summits. I am grateful for the mountaineering and apline skills I learned, but that most importantly I stayed safe. I’m writing this from a recovery position on the couch since I ended the trip a little dehydrated. While this will be my last foray into the West for a while, I’m still glad to have accomplished the summits and report it as a trip well done.
-N2WU